How To Print And Tile A PDF Sewing Pattern
A Step By Step Tutorial
Have you ever wanted to start a sewing project and found that you don’t have the pattern? And in a world of instant solutions do you want to print out your pattern and get started right away?
All our patterns are available as a PDF you can download on-the-spot! (And as a A0 file that can be sent to a copy shop too.)
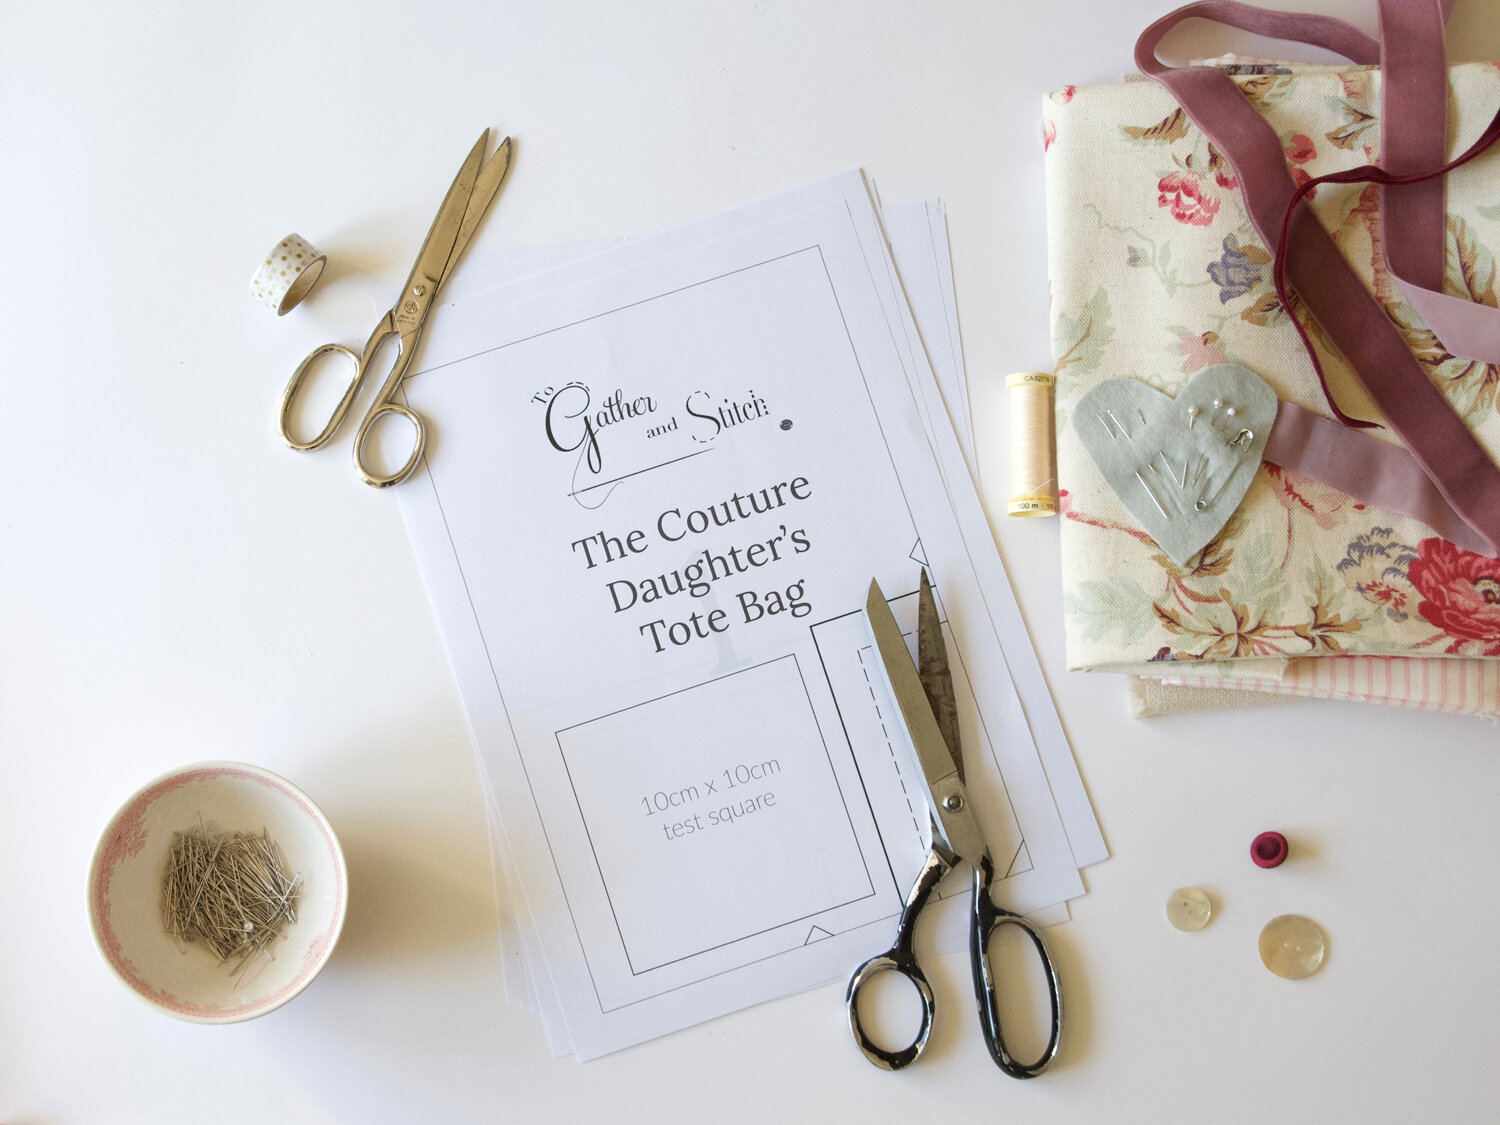
A sewing project with a PDF pattern
You Will Need
A desktop printer.
Adobe Acrobat Reader, which you can download here for free.
A4 letter paper.
Paper scissors.
Sellotape, or clear magic tape.
A table top to lay out your pattern pieces.
First Steps
1) Download your pattern using the link provided and save it to your computer.
2) Open the digital file that you need in Adobe Acrobat Reader, you can download the latest version here for free.
I wouldn’t try and print from Mac Preview or Windows PDF viewer. (See troubleshooting tips later.)
3) Open your pattern in Adobe Acrobat Reader and find the page that has the Print Test Square.
The Print Test Square for To Gather And Stitch Patterns will usually be on page 1 or 2.
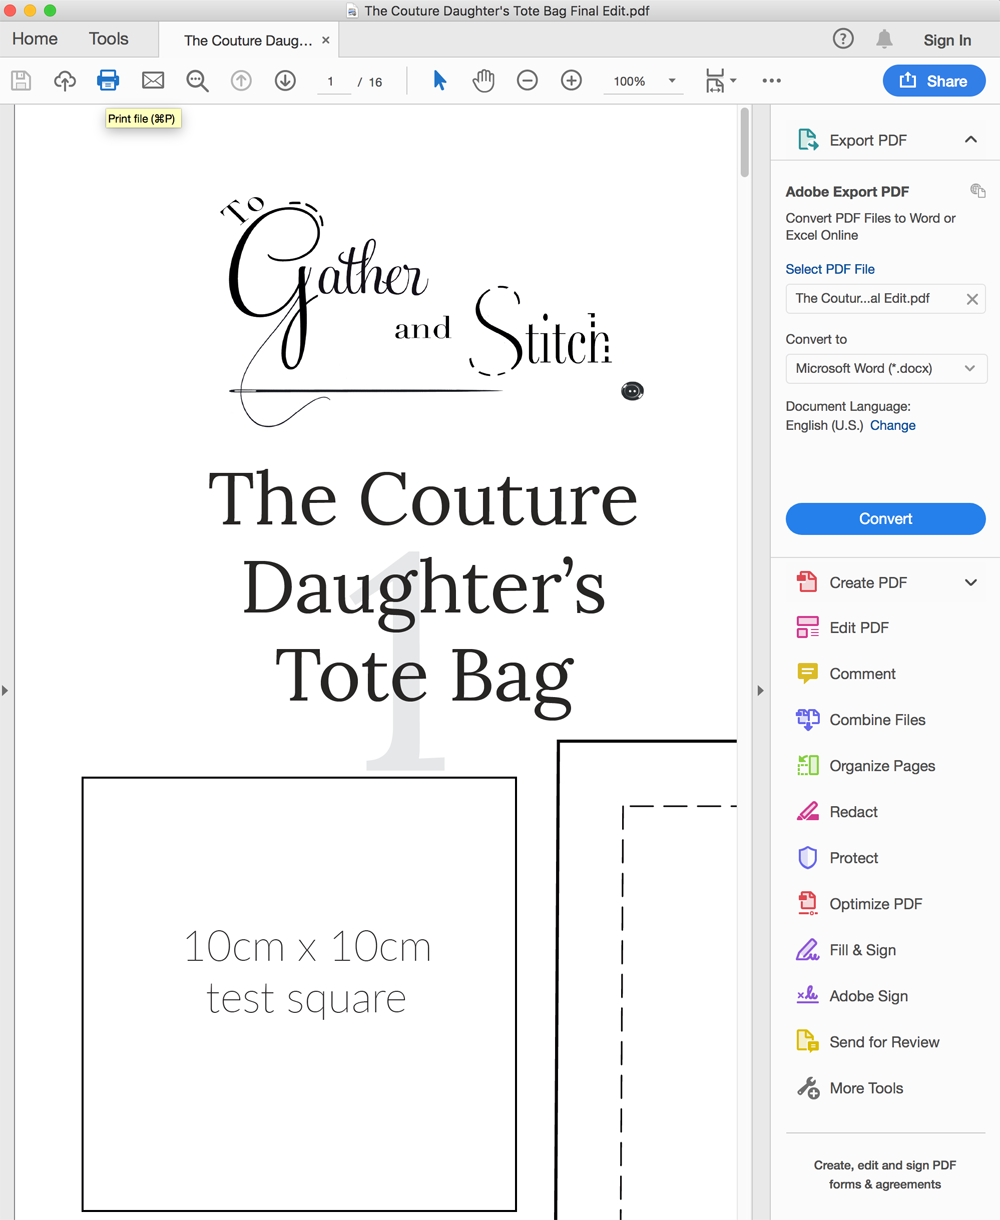
The first page of a PDF pattern in Adobe Acrobat Reader
What To Do Next

Adobe Acrobat Reader Print Dialogue Box
4) Check you have enough letter sized paper in your printer, either A4 or US Letter size.
5) Press print, the icon is in the top row and this box should appear.
6) Check that the pattern is scaled at 100%, depending on your printer it might say:
Actual Size
Scaled at 100%
Custom Scale 100%
Turn off scaling
Selecting any of these options should print your pattern at the correct size.
Make sure that the “Choose paper source by PDF page size” is unchecked.
7) Print out JUST the page with the test square on, ( NOT the whole pattern!) For our patterns this will be on the first page , but patterns from other designers might vary.

Print the page with the test square and check its measurements are correct
8) Measure the size of the test square. If it measures 10cm by 10cm you are good to go. If it doesn’t you’ll need to play about and adjust your printer settings.
(See trouble shooting tips below.)
9) If your test square measures correctly you can print out the rest of the pattern using the same settings that you selected. It’s always useful to make a note of these for future reference.
Next Steps
10) In the pattern instructions there is a jpeg of the pattern print, ( see above) showing how it all fits together. The printed pattern for a tote bag looks like this:

PDF Sewing Pattern Print Layout
11) Lay out your pattern on your table, using this image to guide you.
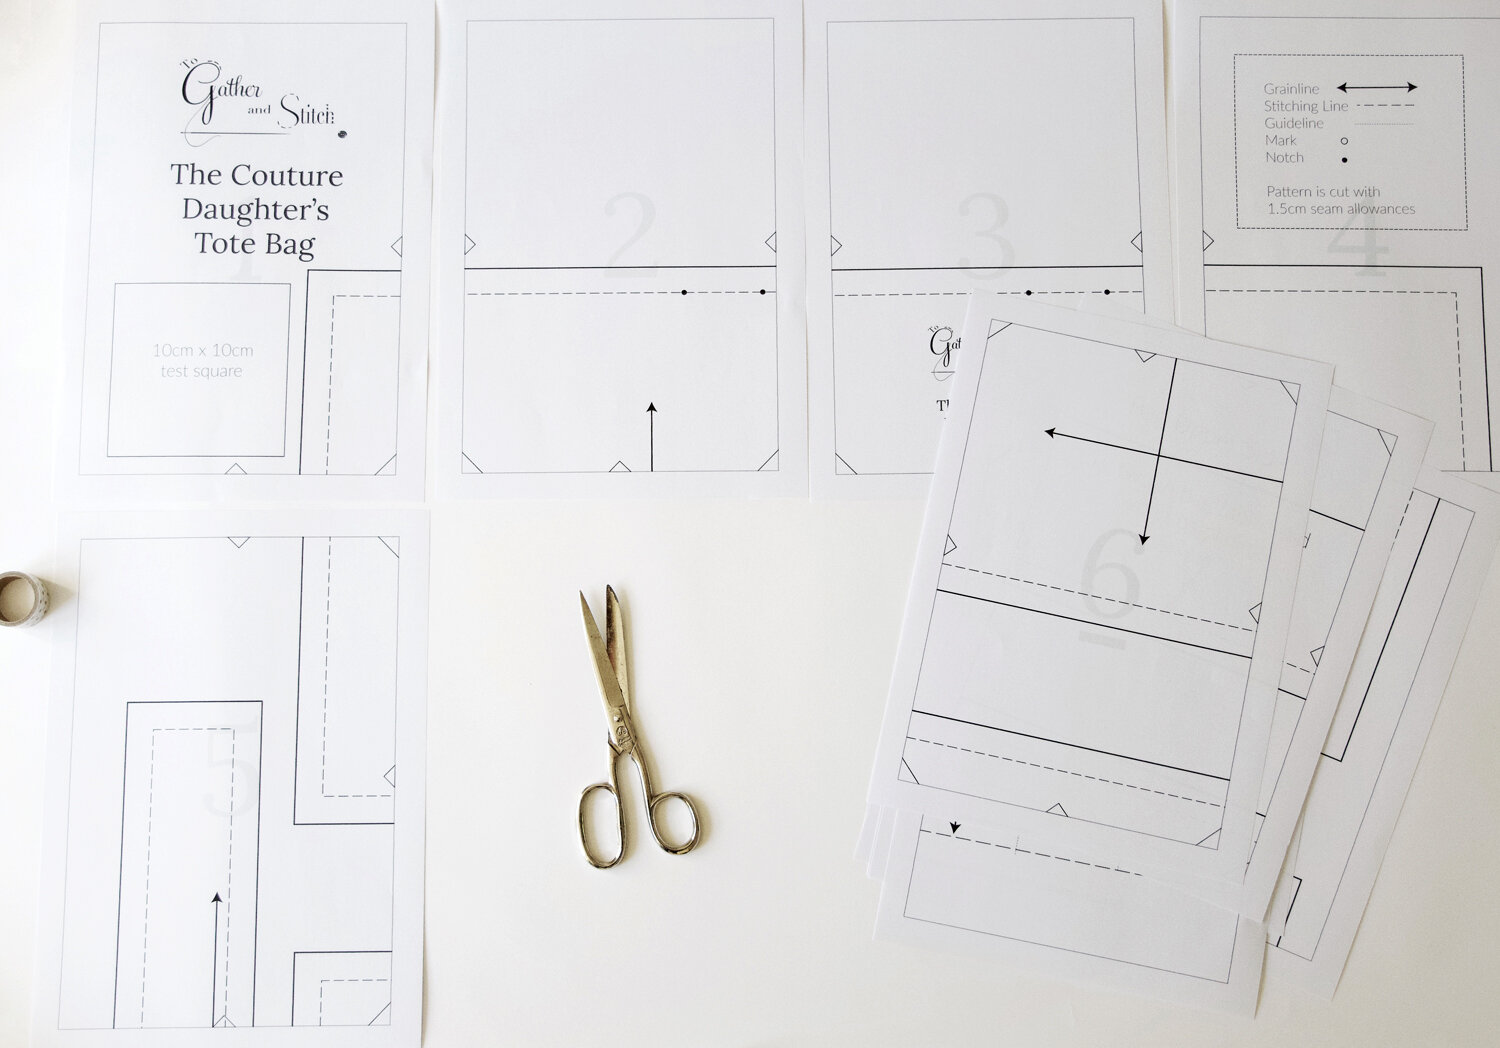
Lay out your PDF sewing pattern on the table
12) Cut away two sides of your pattern, one long side and one short side. I usually cut the right side and the bottom of each sheet. Cut just outside the printed line.
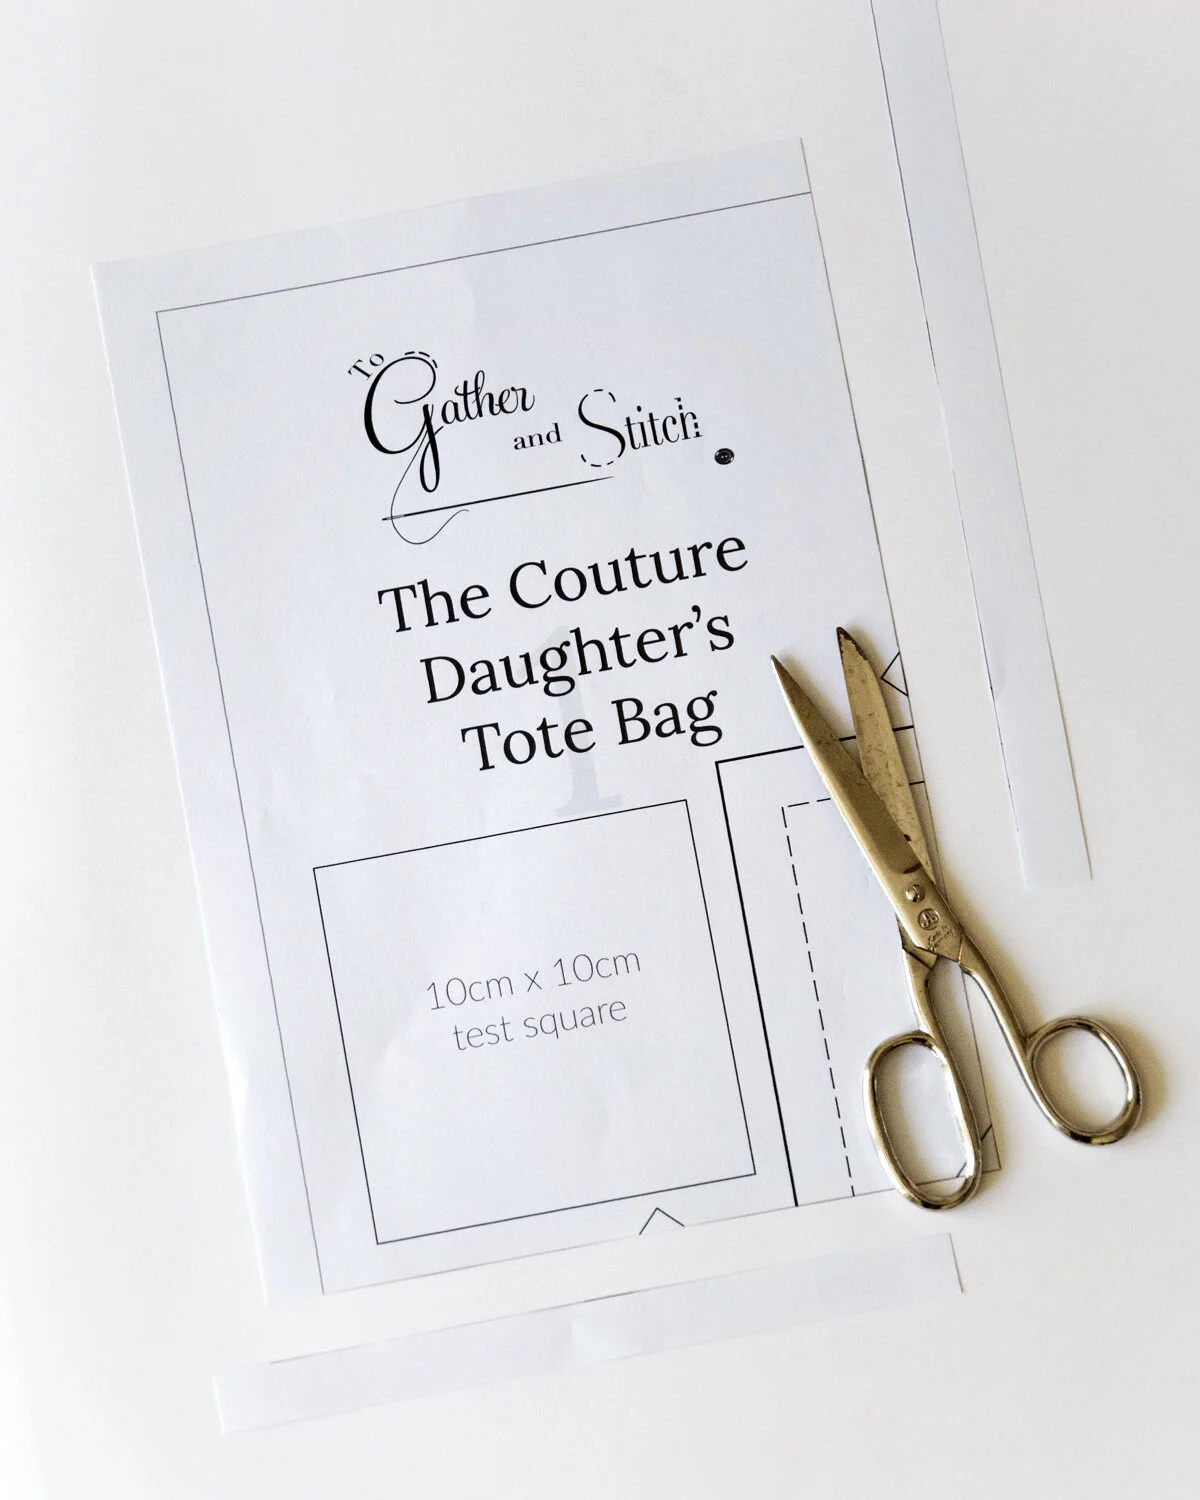
13) Lay out your pattern on the table matching the diamond page markers alone the sides of each sheet and the pattern lines.

14) Sellotape each piece in place. I find that placing a weight, or a book on the sheet that you are going to tape in place ensures that everything stays in place and doesn’t move around before it’s secured.
It’s easier to tape one sheet of paper at a time. I work across the pattern from left to right and then from top to bottom.
15) When you are happy that everything is assembled together correctly you can cut out your pattern pieces, using the sizes that you need.
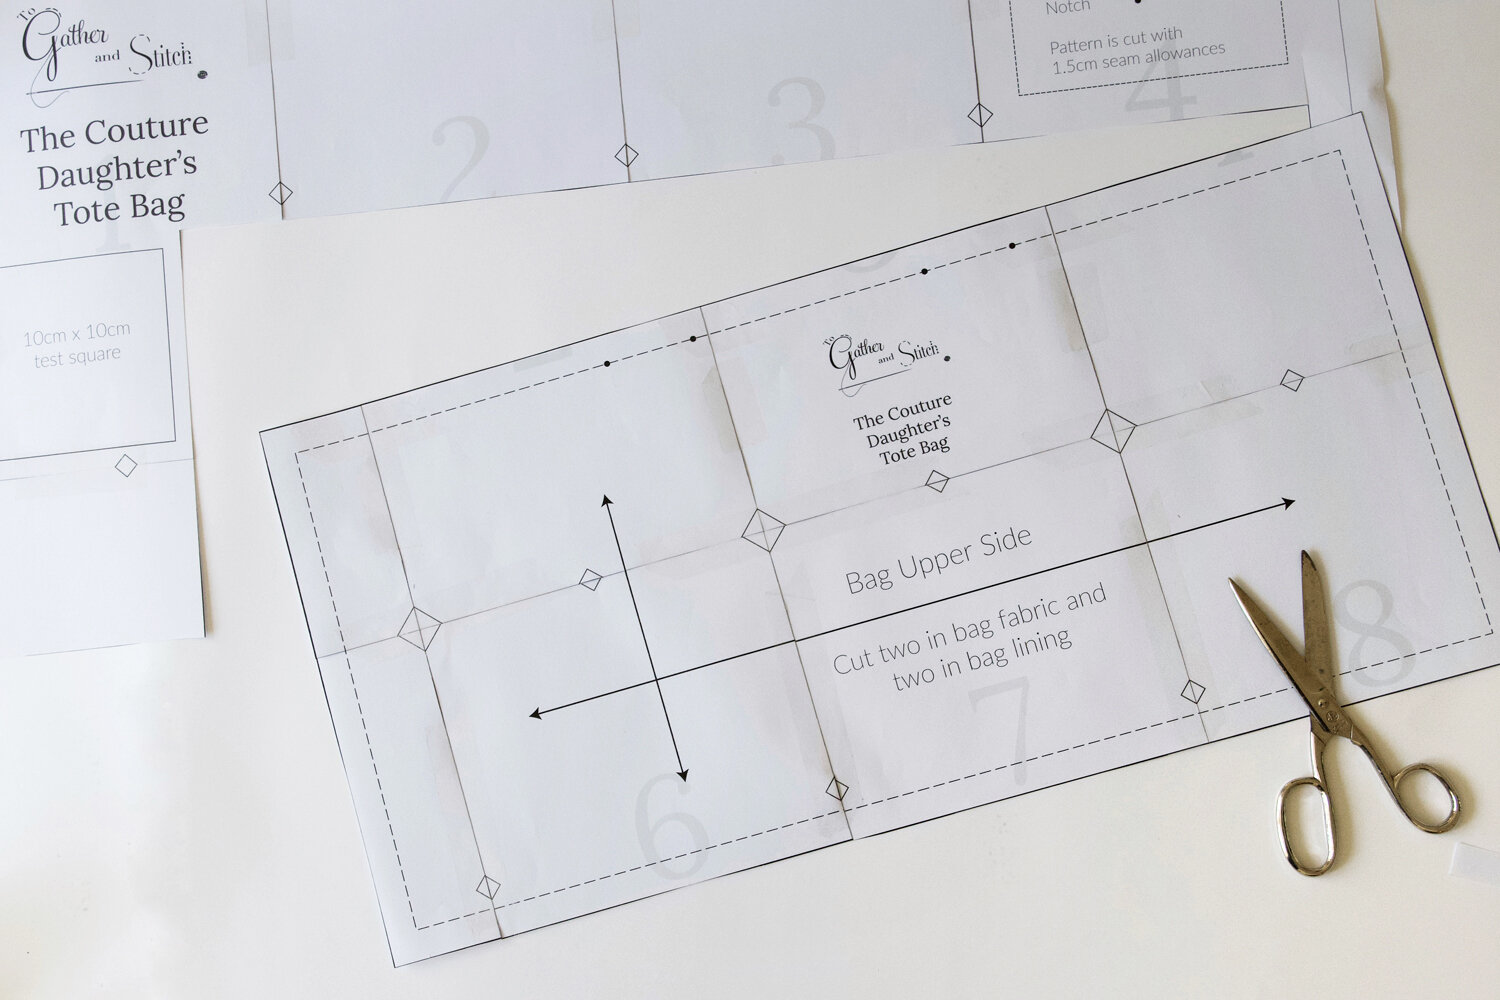
If your pattern is large you might need to do this as you go, however make sure that you have the complete pattern pieces close to it secured, otherwise you’ll end up with a “pattern jigsaw” to finish!
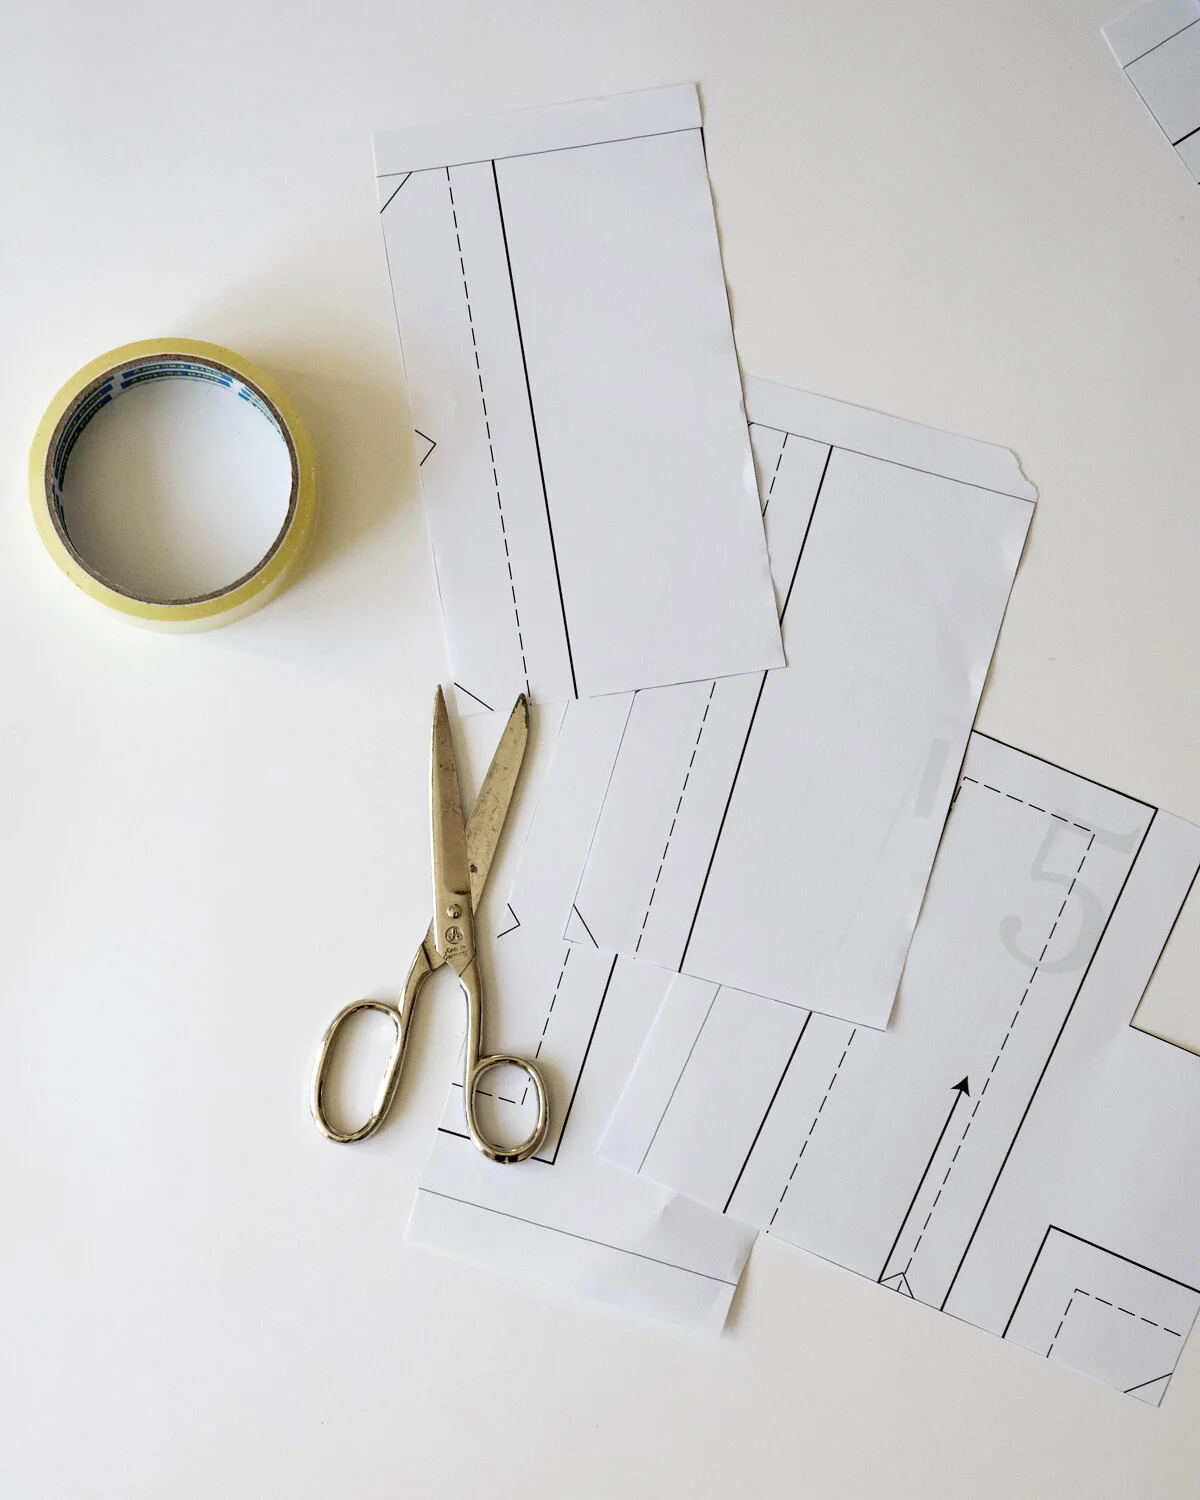
If you are planning to grade between sizes I would cut the pattern out roughly around the largest size first and plan your grading afterwards.
16) Keep the pattern key and size guides safe as you might need to refer to them later.
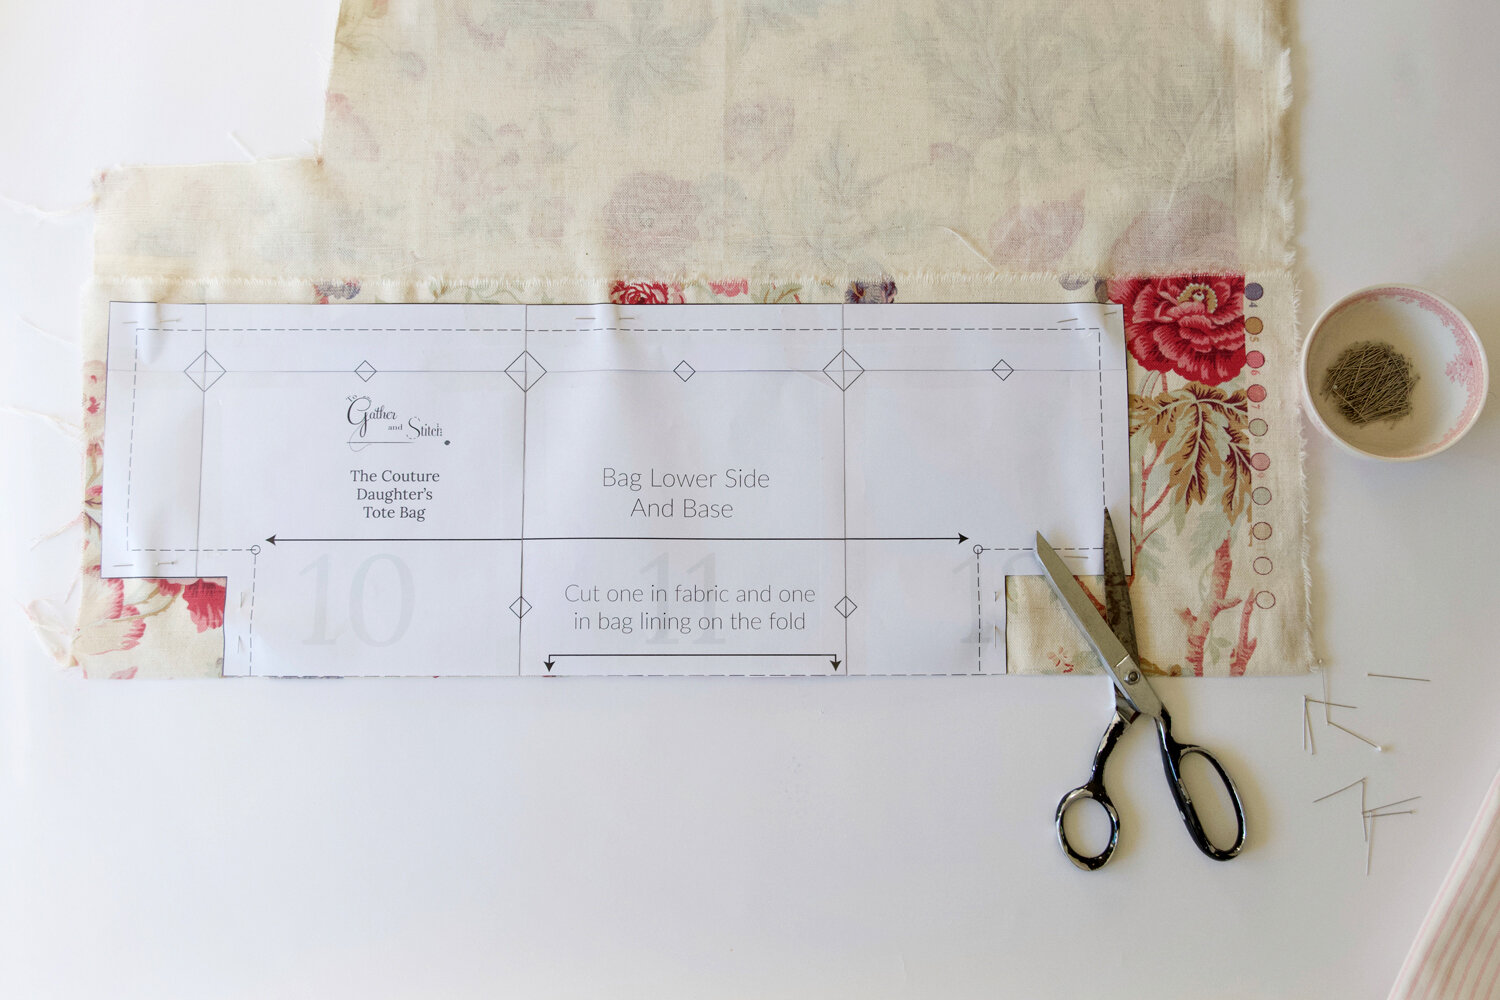
Et voila, you have your PDF pattern assembled and ready to go
Troubleshooting
Make sure that you are using the latest version of Adobe Acrobat Reader.
Ensure that you are not using another application to view the file, on a MAC this could be Preview and on a PC Windows PDF viewer.
Print from your saved file and not directly from your internet browser.
Double check that in your printer settings you have selected Actual size 100%
If the size of your test square is still causing problems click “Advanced Printer Settings” and then “Print as Image.”
If you have any questions please get in touch. Happy sewing!