
Sew An Easter Chicken
A Step by Step sewing tutorial
A little creative project for you to sew at home. If you are at all like me, busy hands seem to ease my troubled mind.

You will need


Easter Chicken Pattern - you can download this here
Scraps of pretty fabrics which need to be at least 12 cm by 12 cm
One piece of felt 12 cm by 12 cm and tiny scraps for the beak and crown
Pins
Sewing needle
Thread
Wool or ribbon for legs and feet
2 beads or small buttons for the eyes
Sewing machine
First Steps
1) Cut out the pattern pieces for the chicken body, beak and crown from the template.
2) Pin and cut out two pieces of fabric for the body, you can either fold the fabric in half, or if you want to be sure how the finished chicken will look flip the fabric over to the wrong side so that you have two opposing pieces.
3) Cut out one beak and one crown from felt.
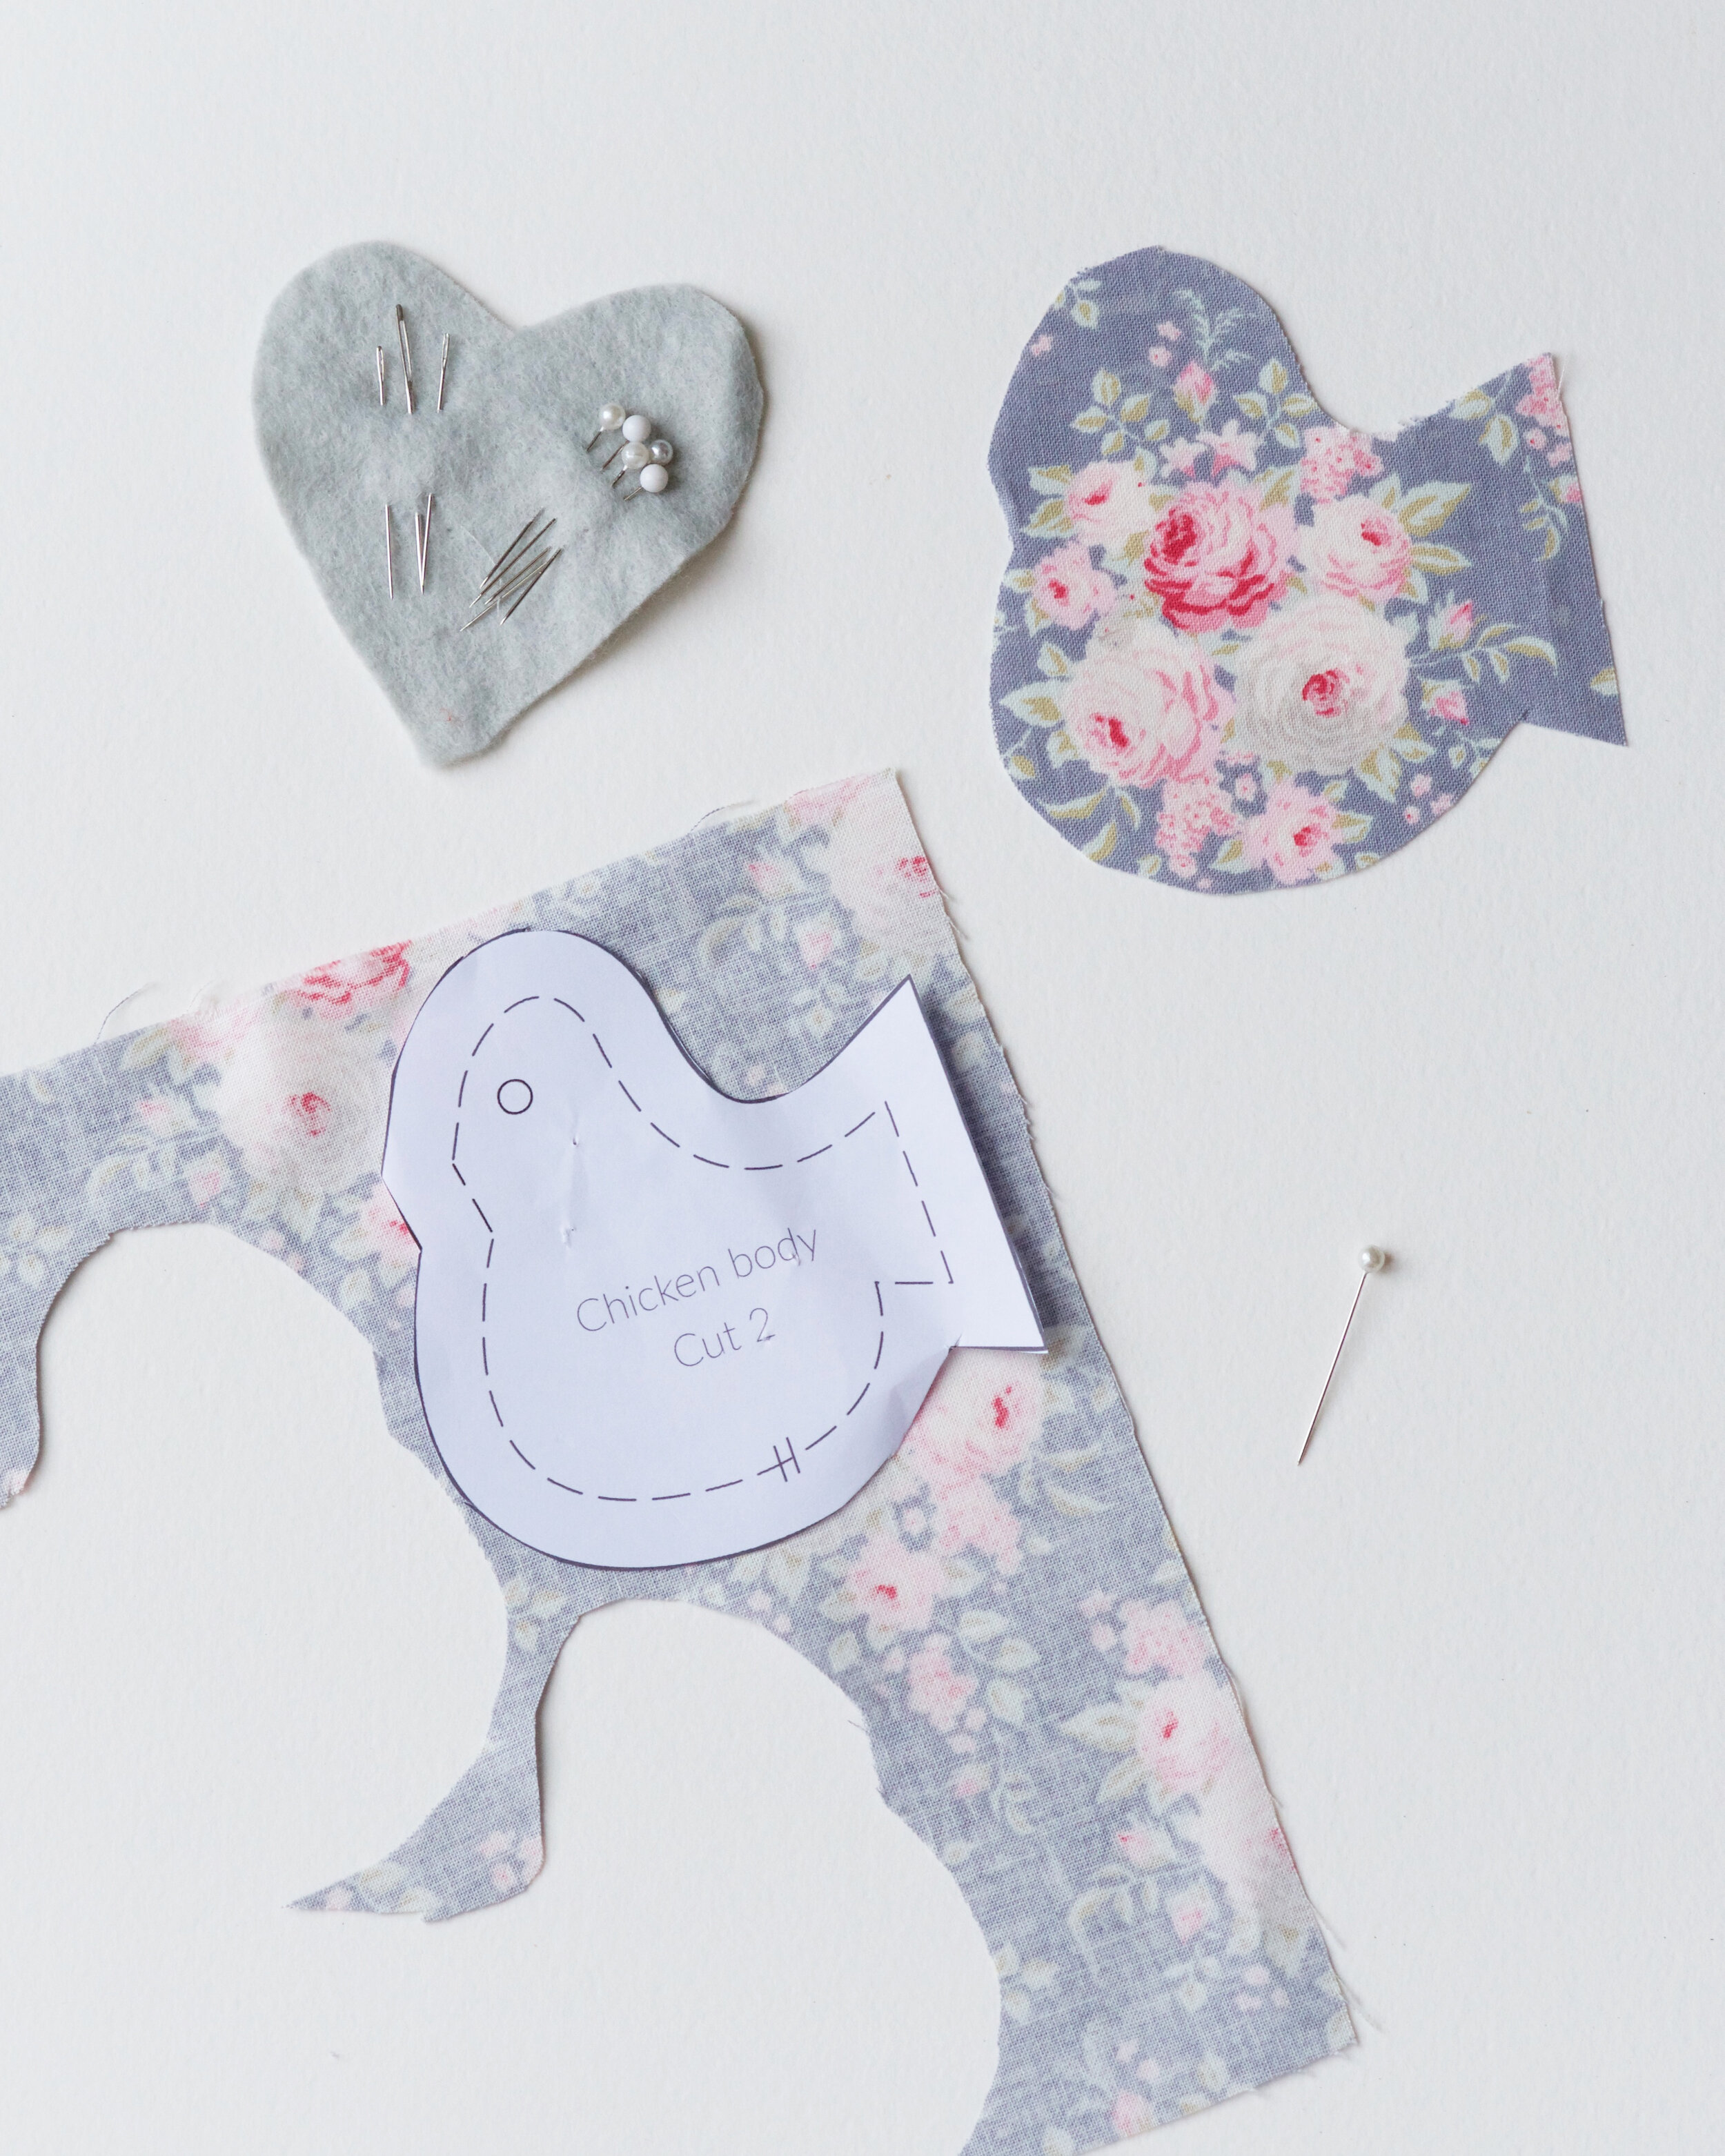

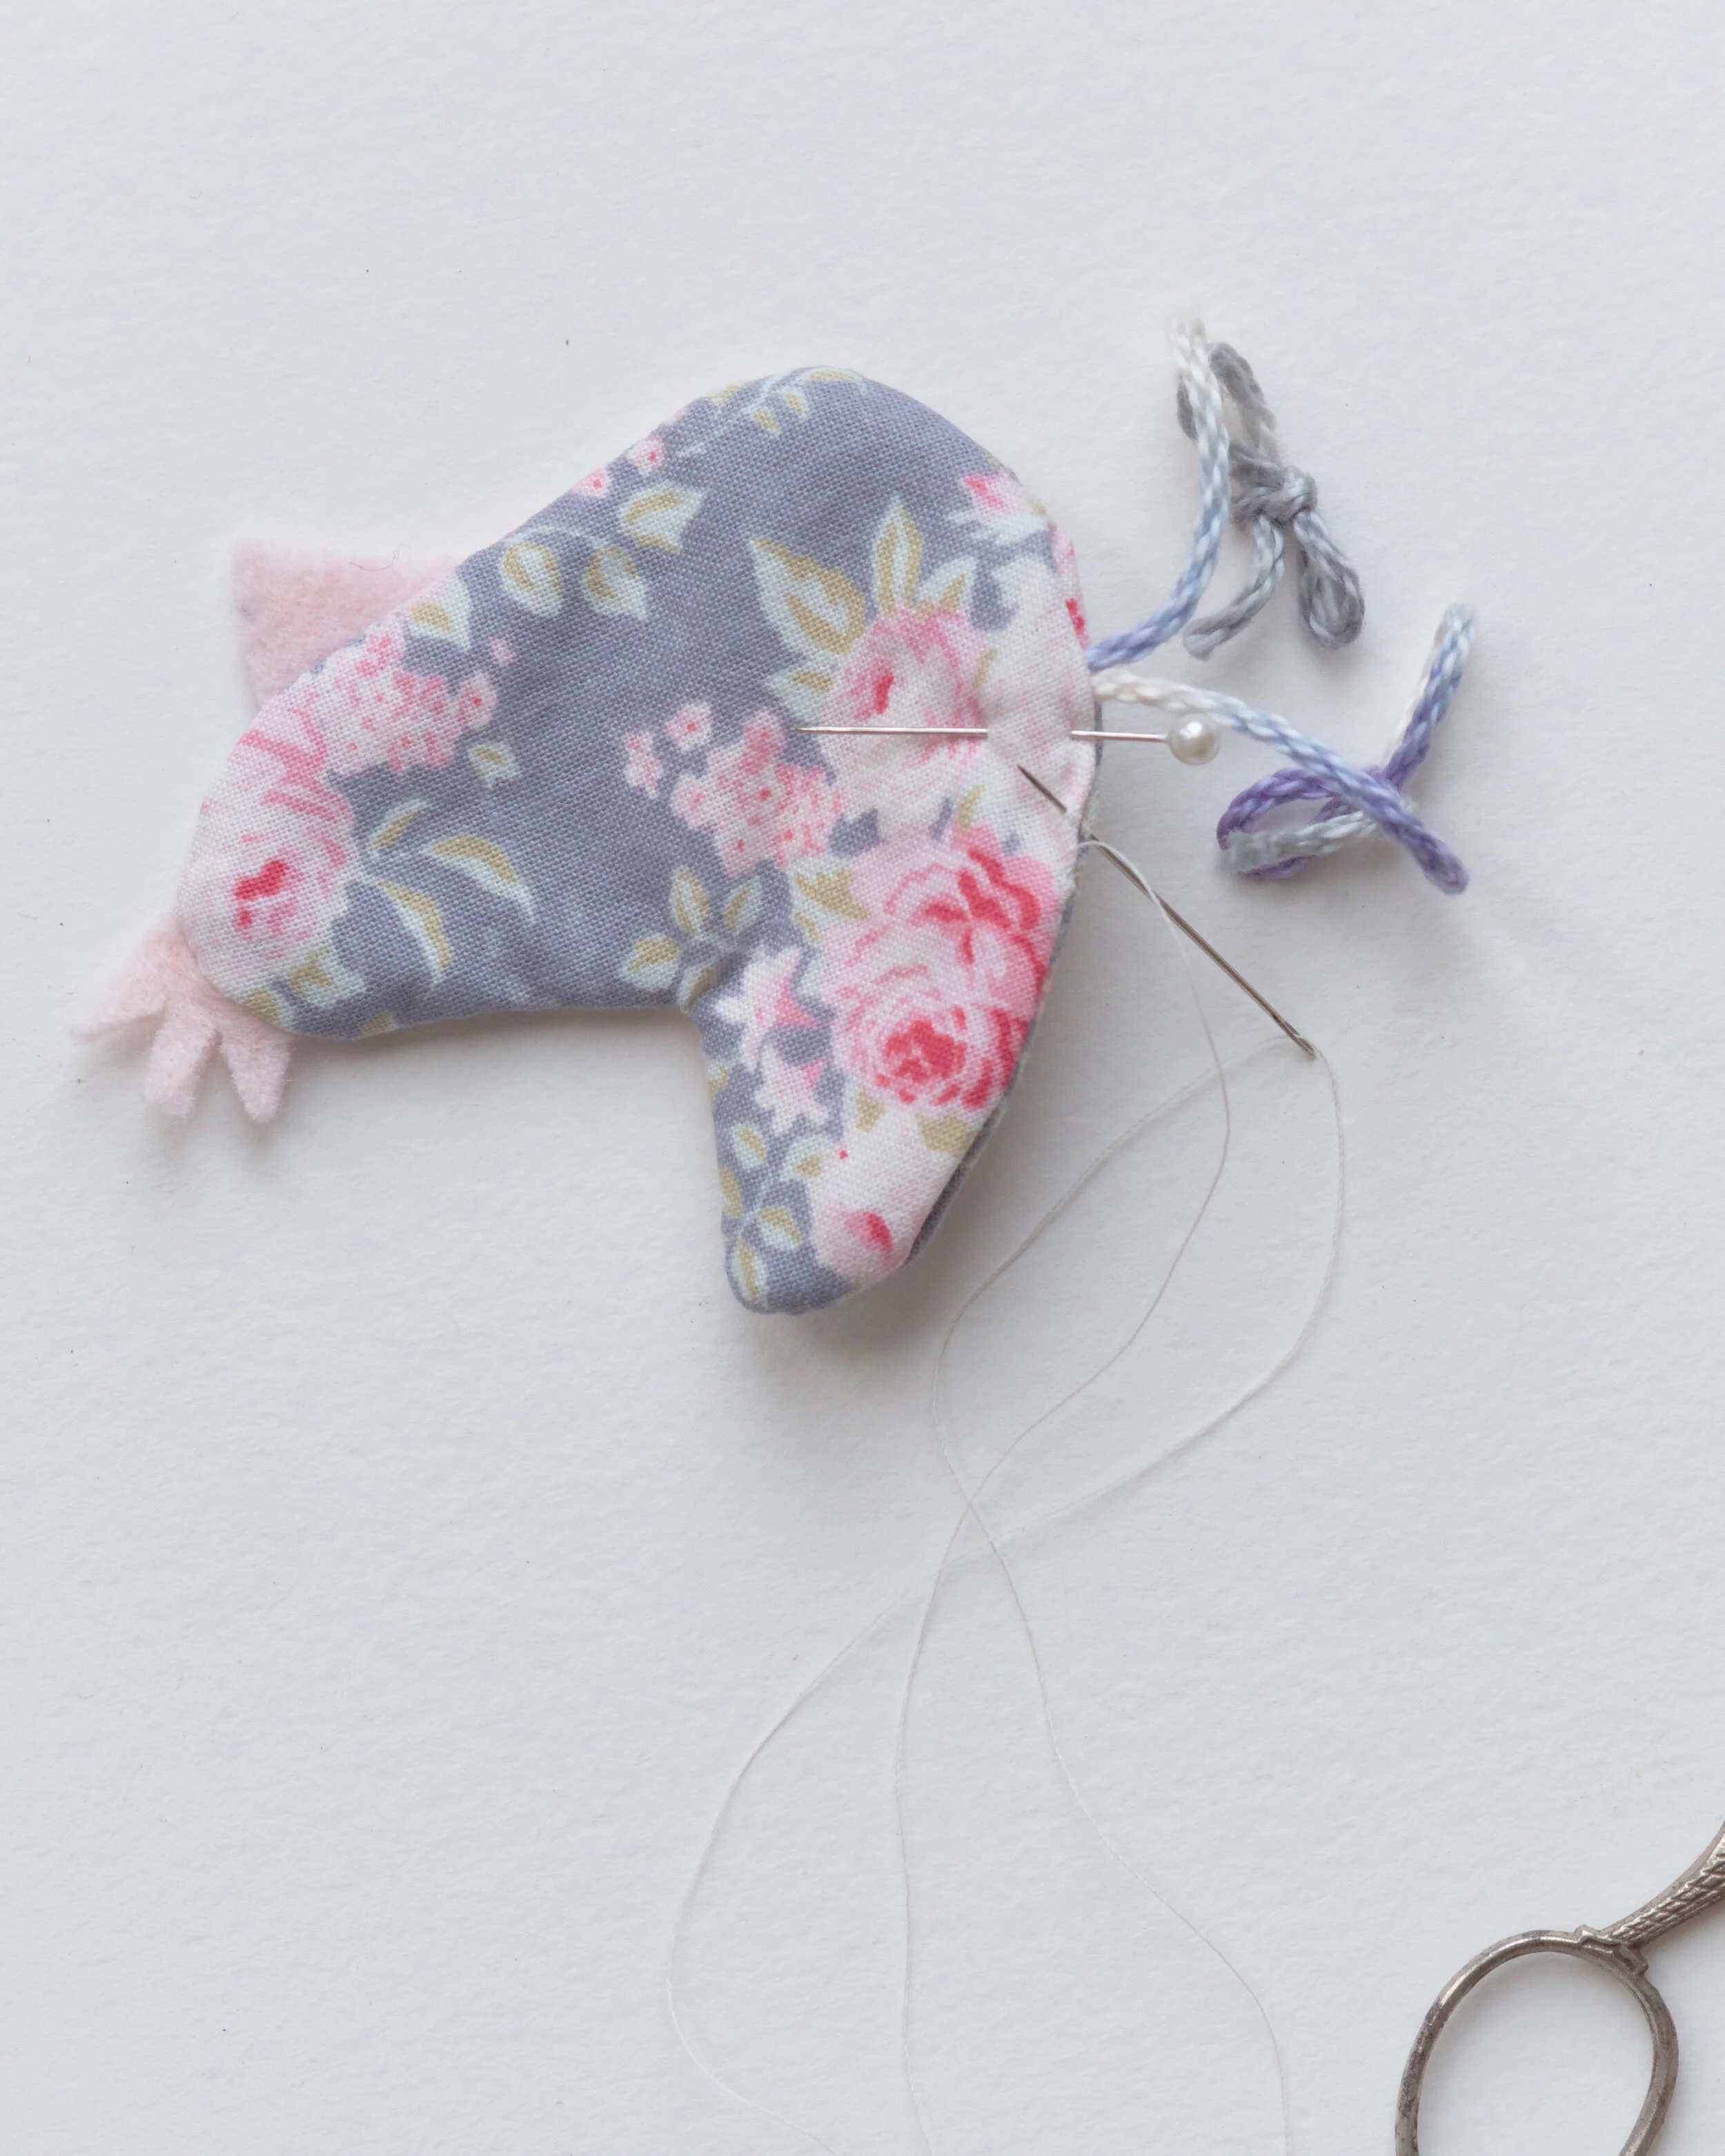
4) Take a 50cm length of ribbon or wool and tie a small bow at each end to make the chicken feet. Knot the bow again to secure it. Fold this in half and tie a knot in the middle ( see photo).


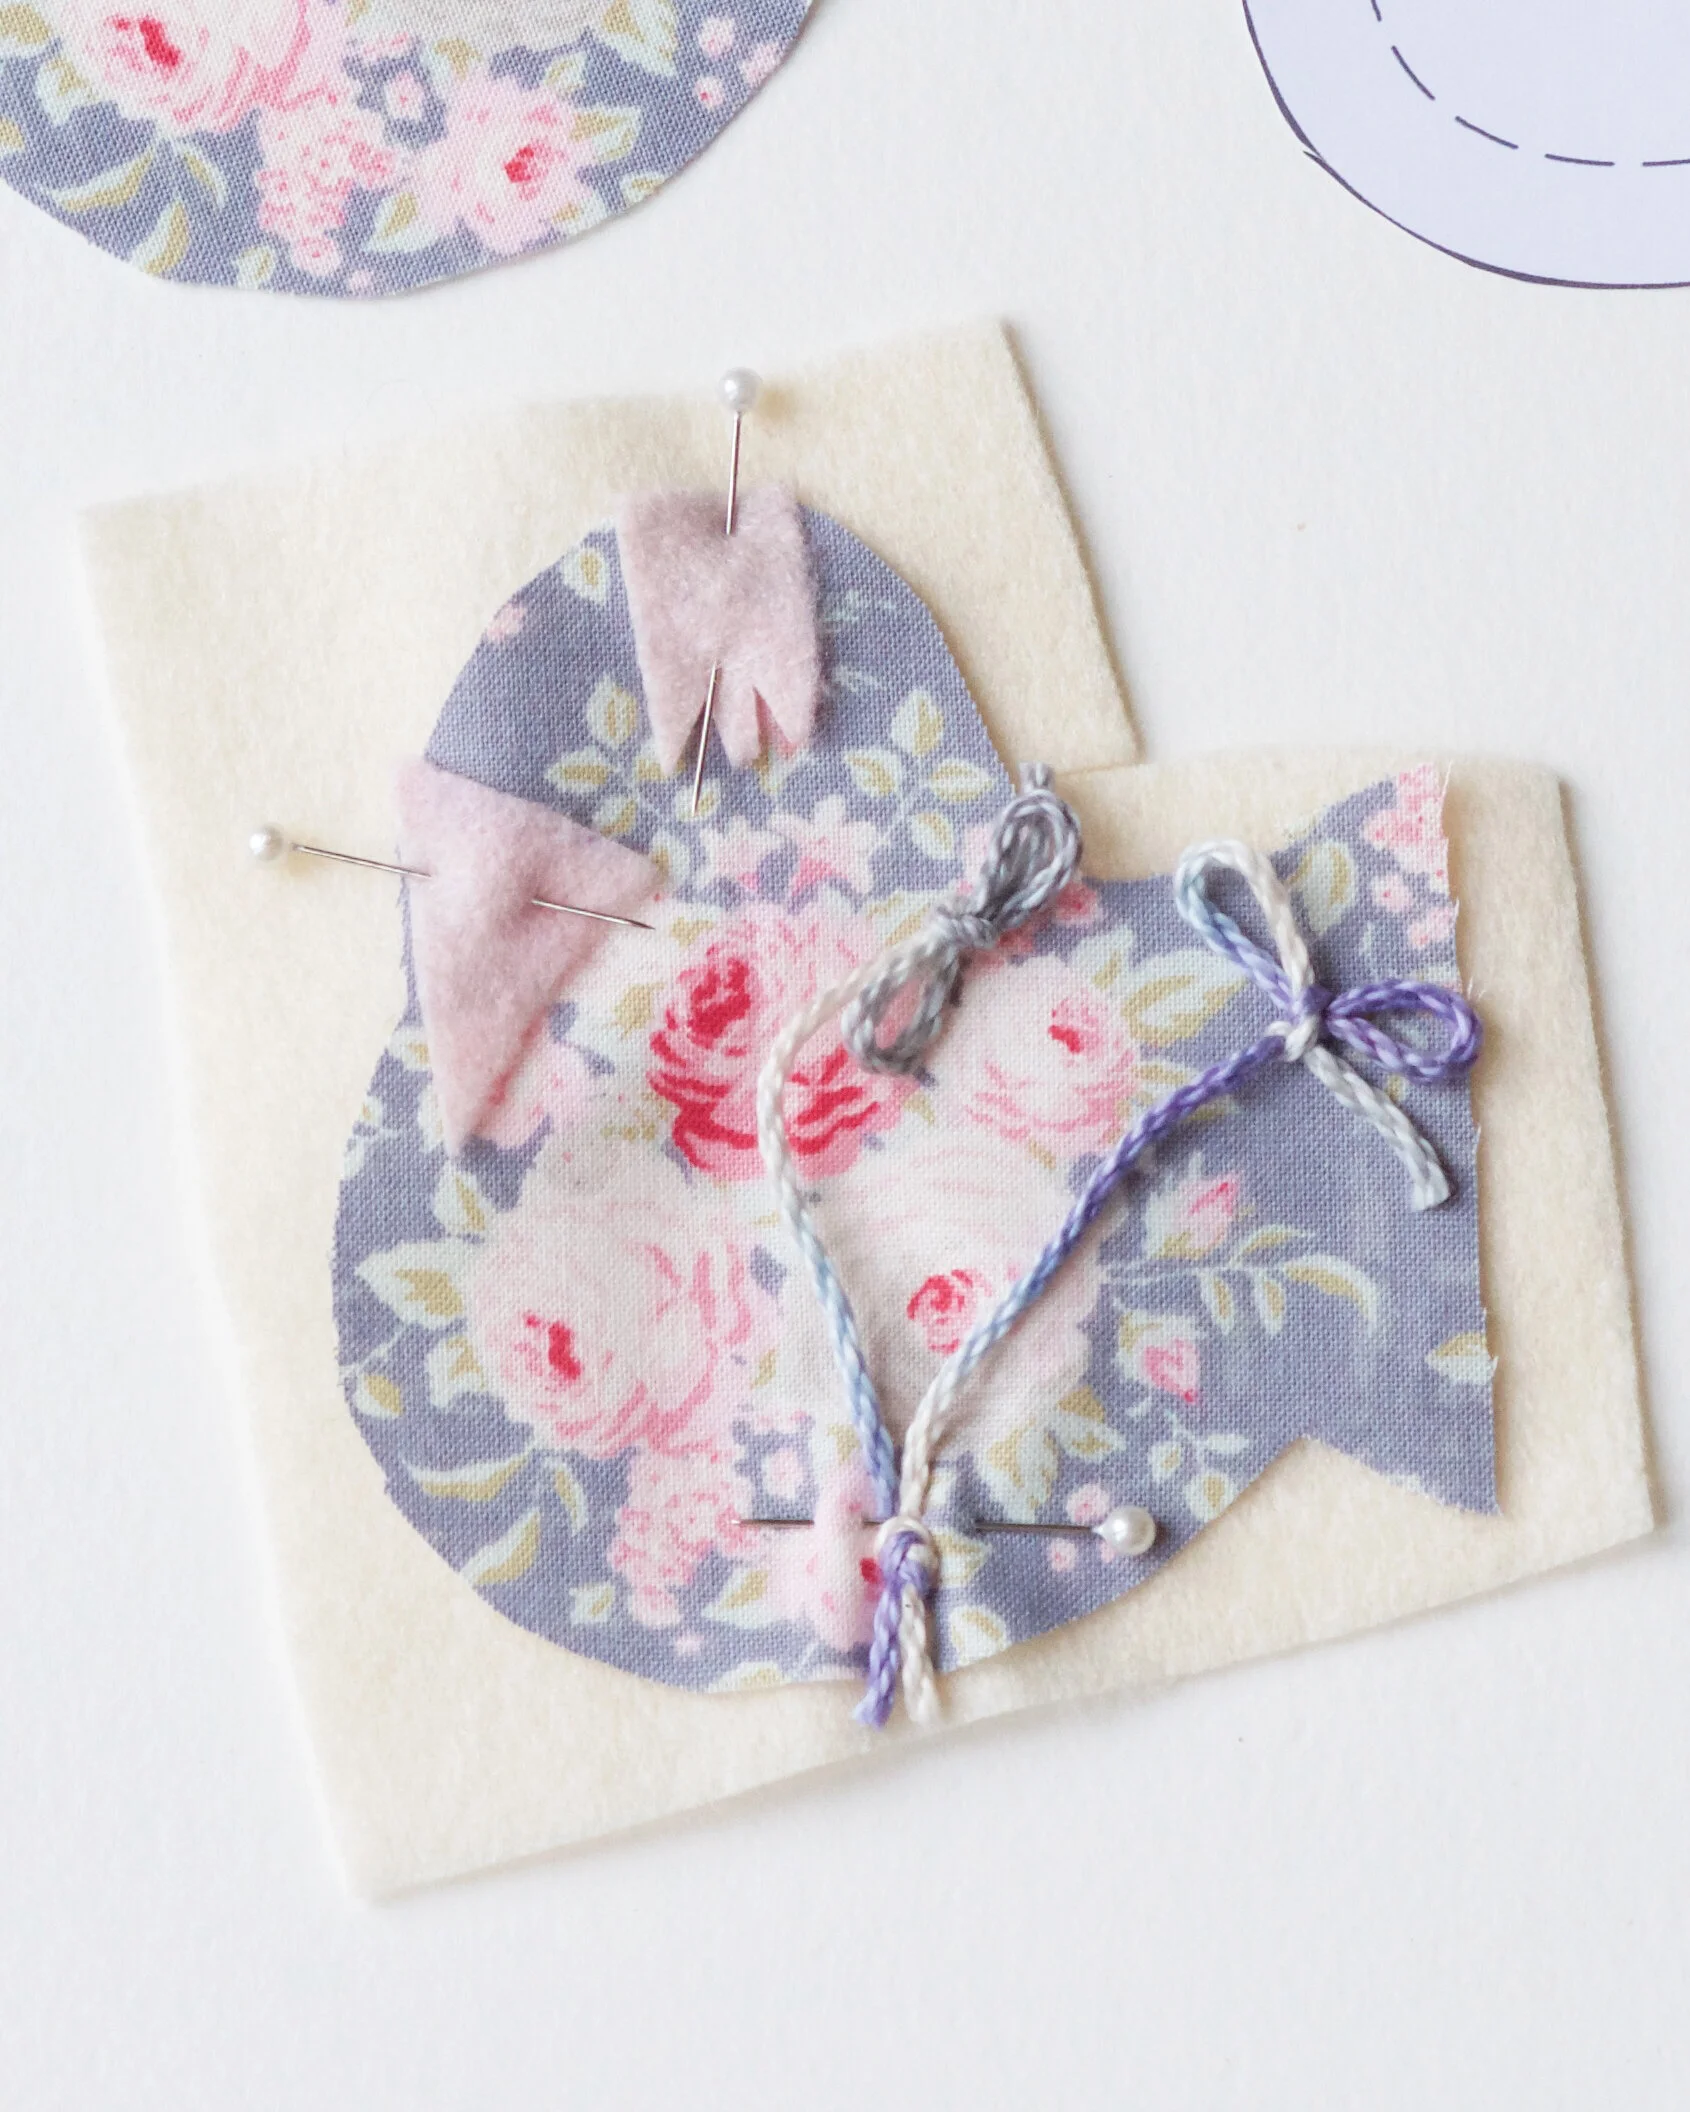
5) Lay one chicken body piece onto the felt and pin in place. Add the beak and the crown, but facing inwards, and secure with pins too.
6) Add the legs at the bottom of the chicken body, there are marks on the pattern to guide you, and secure with a pin.
What to do next
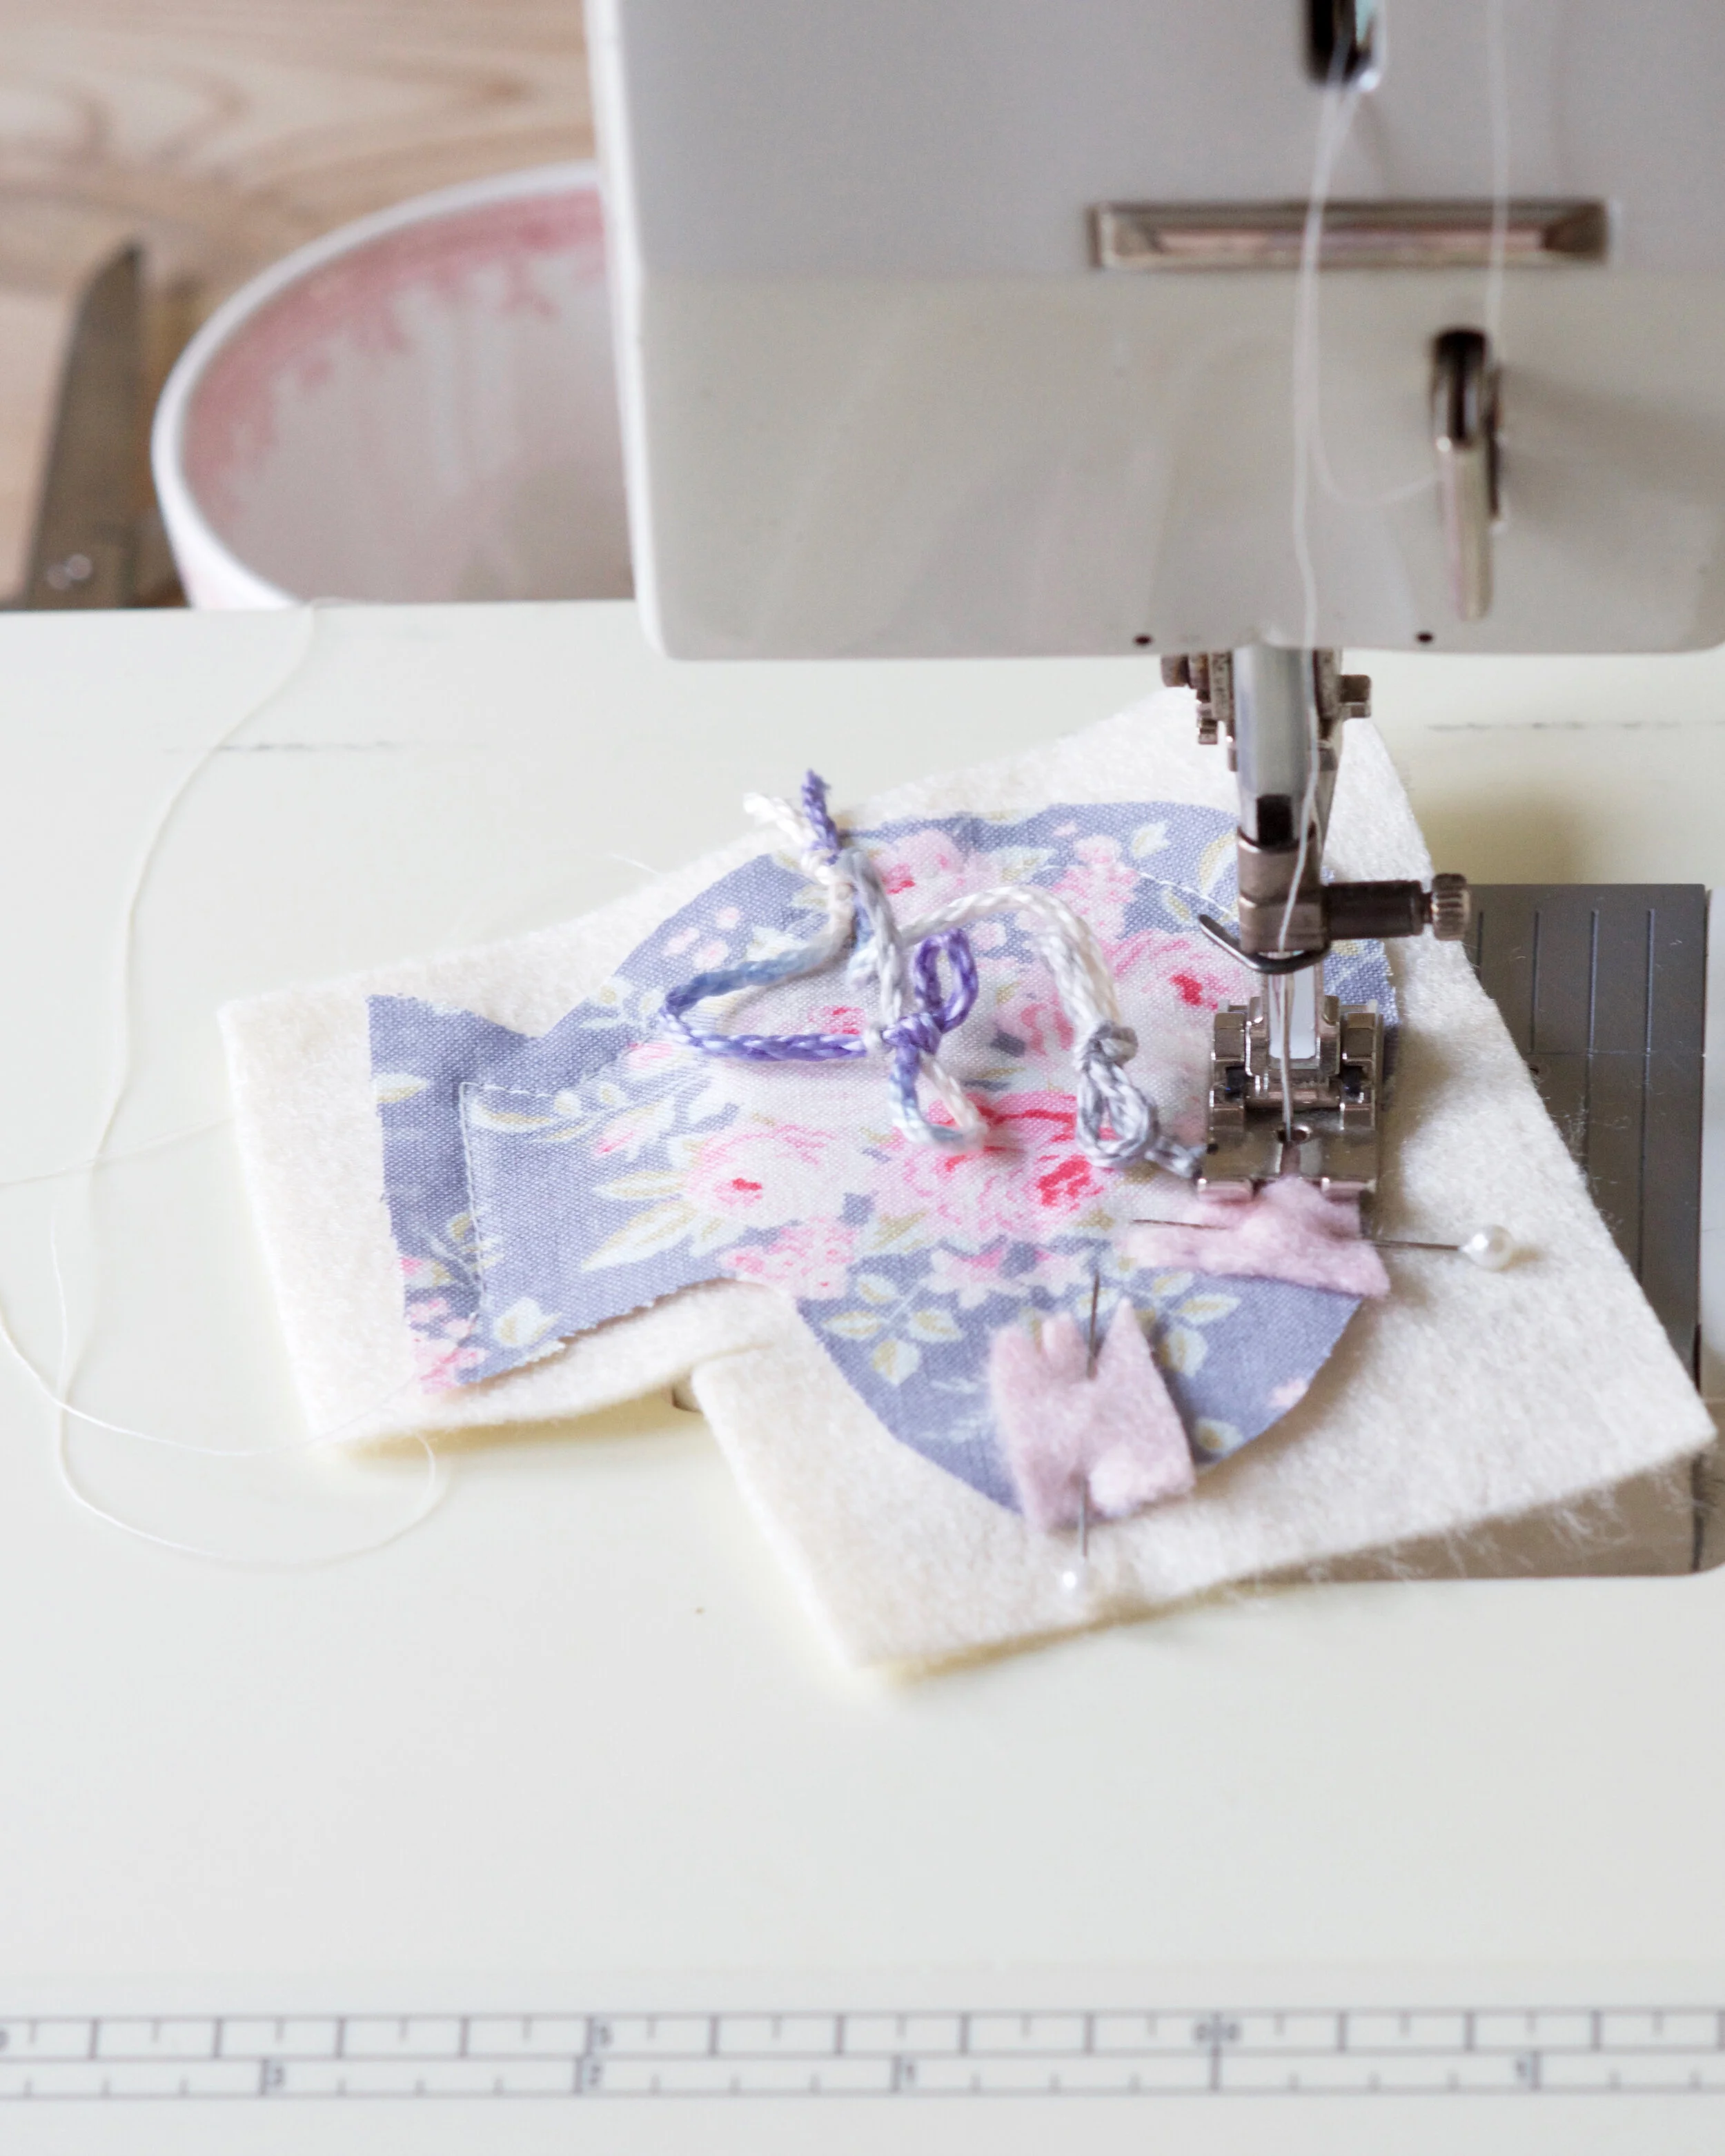
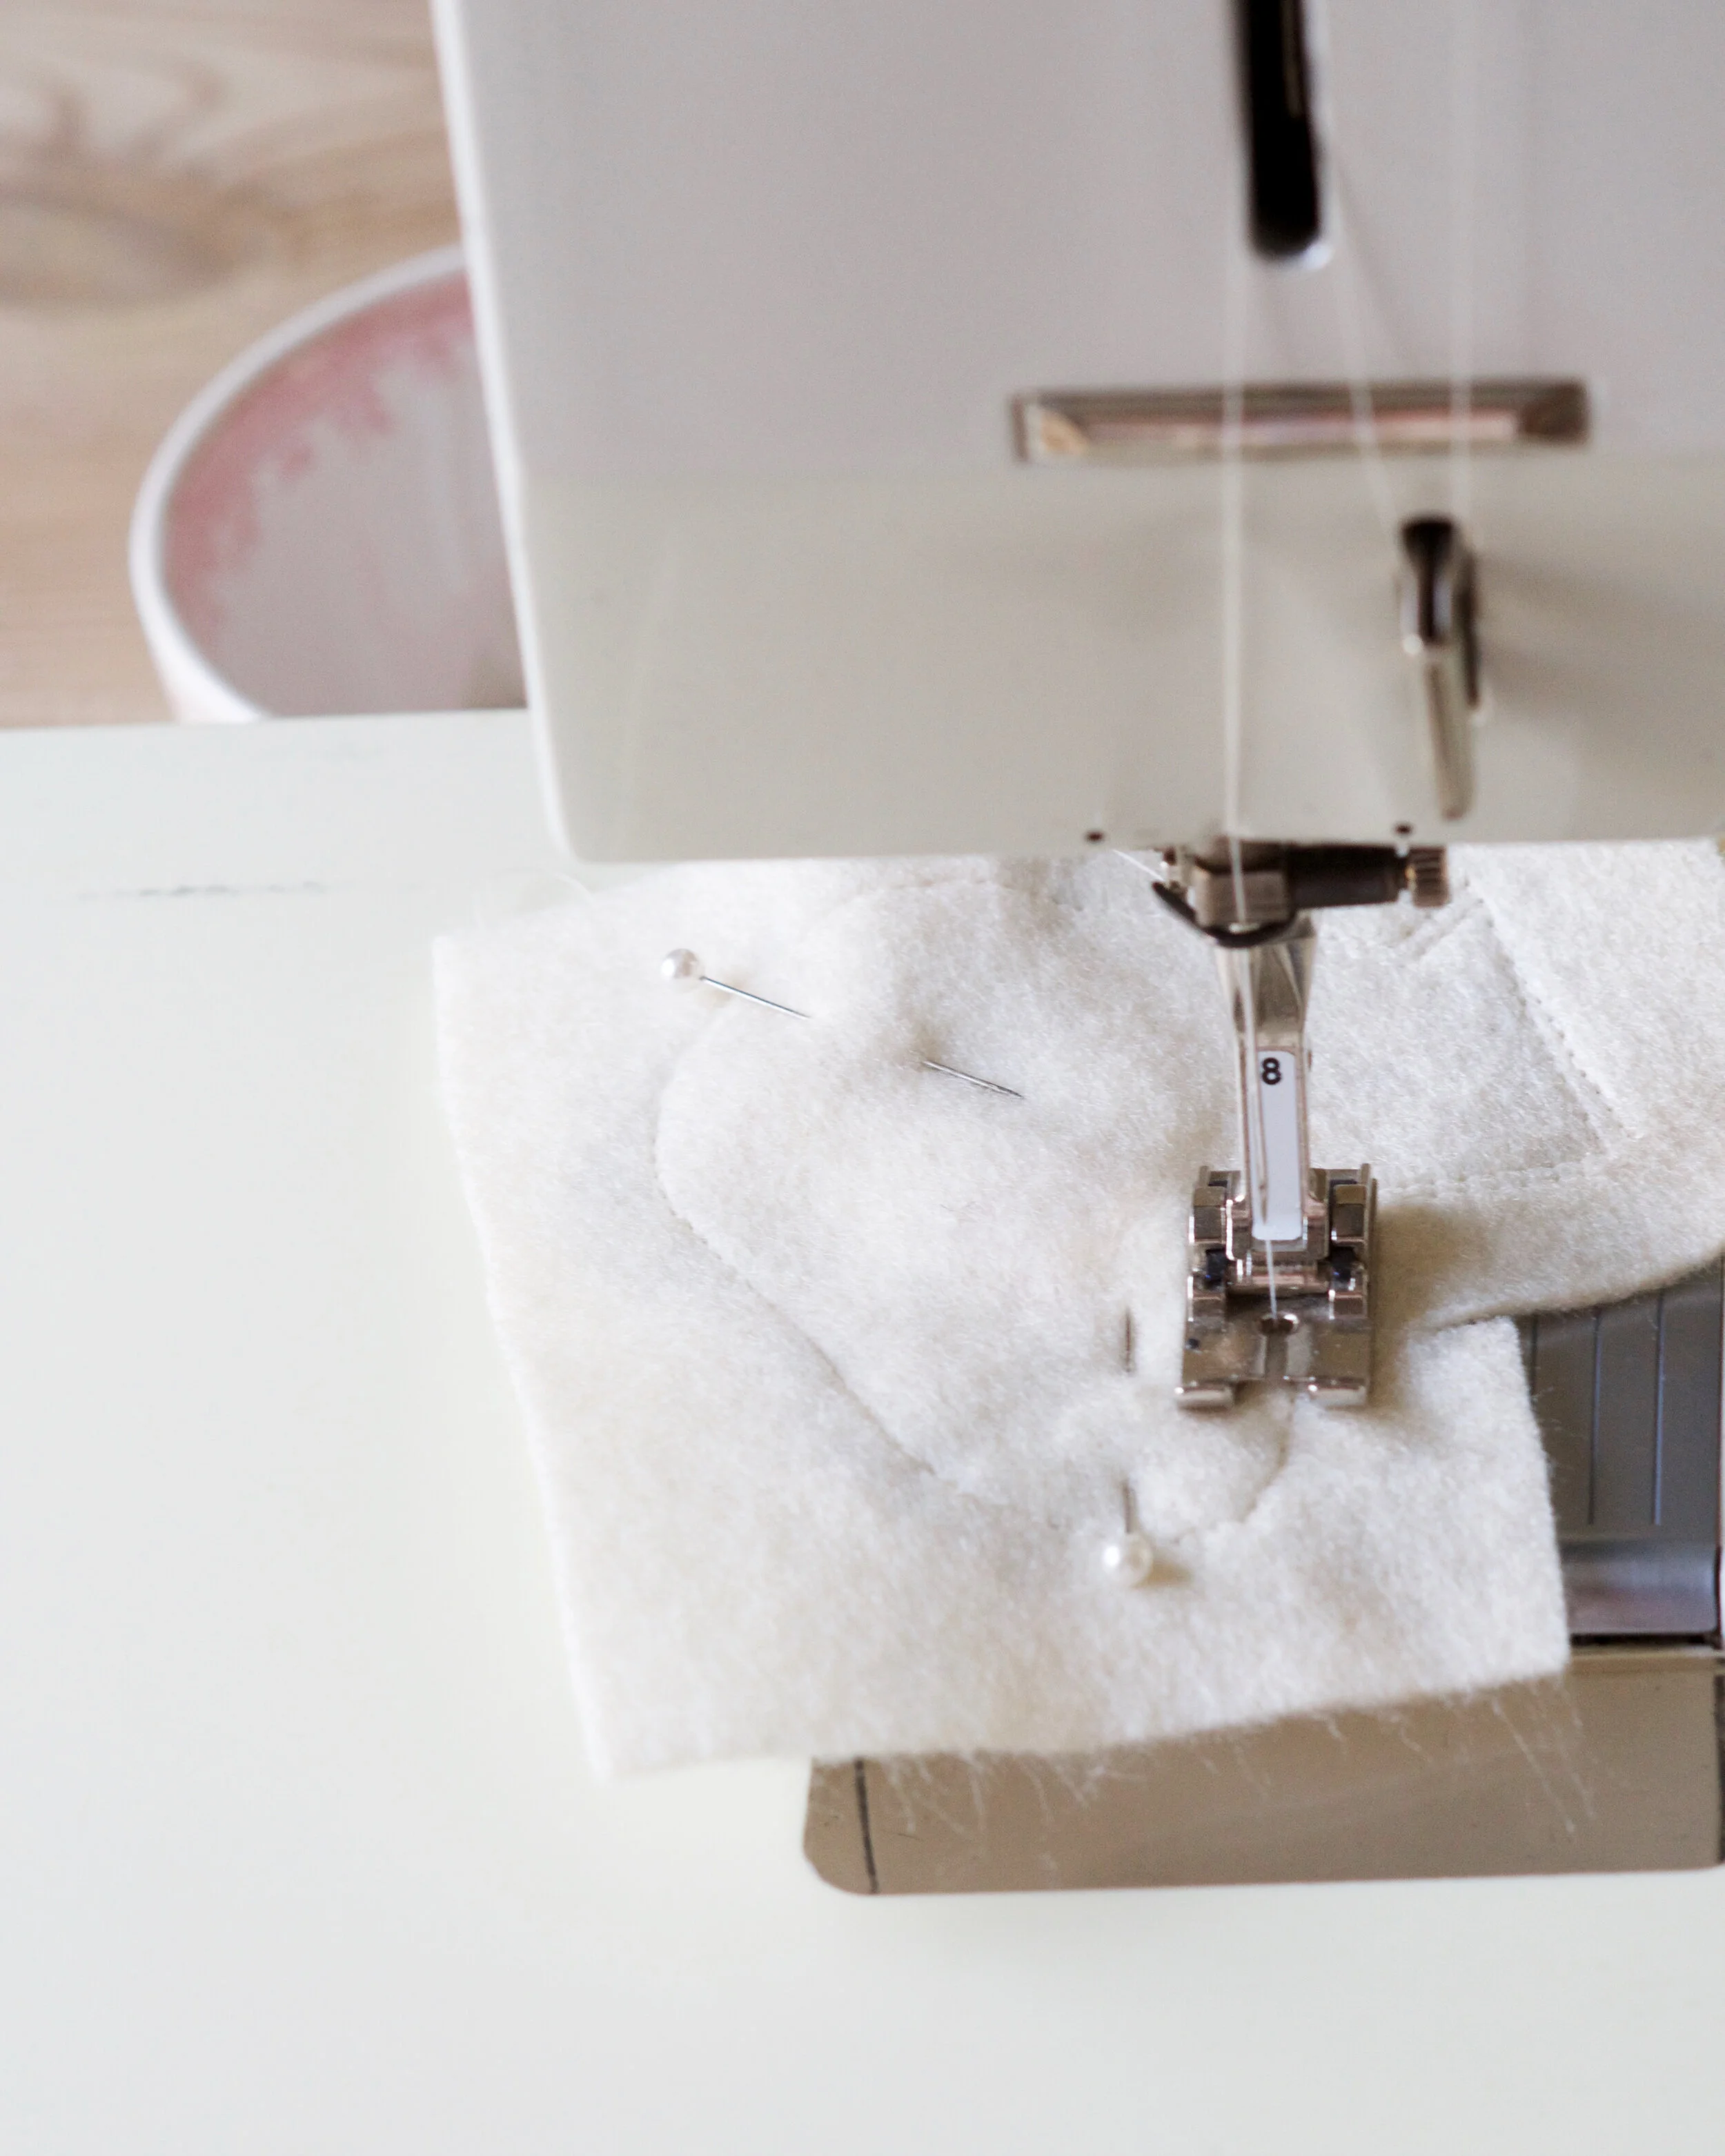
7) Machine stitch inside the edge of the chicken - I use my sewing foot as a guide.
[Or you could tack in place by hand if you prefer.]

8) Then take the other fabric chicken body and lay it over the top right sides together and pin in place.

9) Turn over and pin at right angles to the edges. You can remove the pin you have in the middle on the other side now.

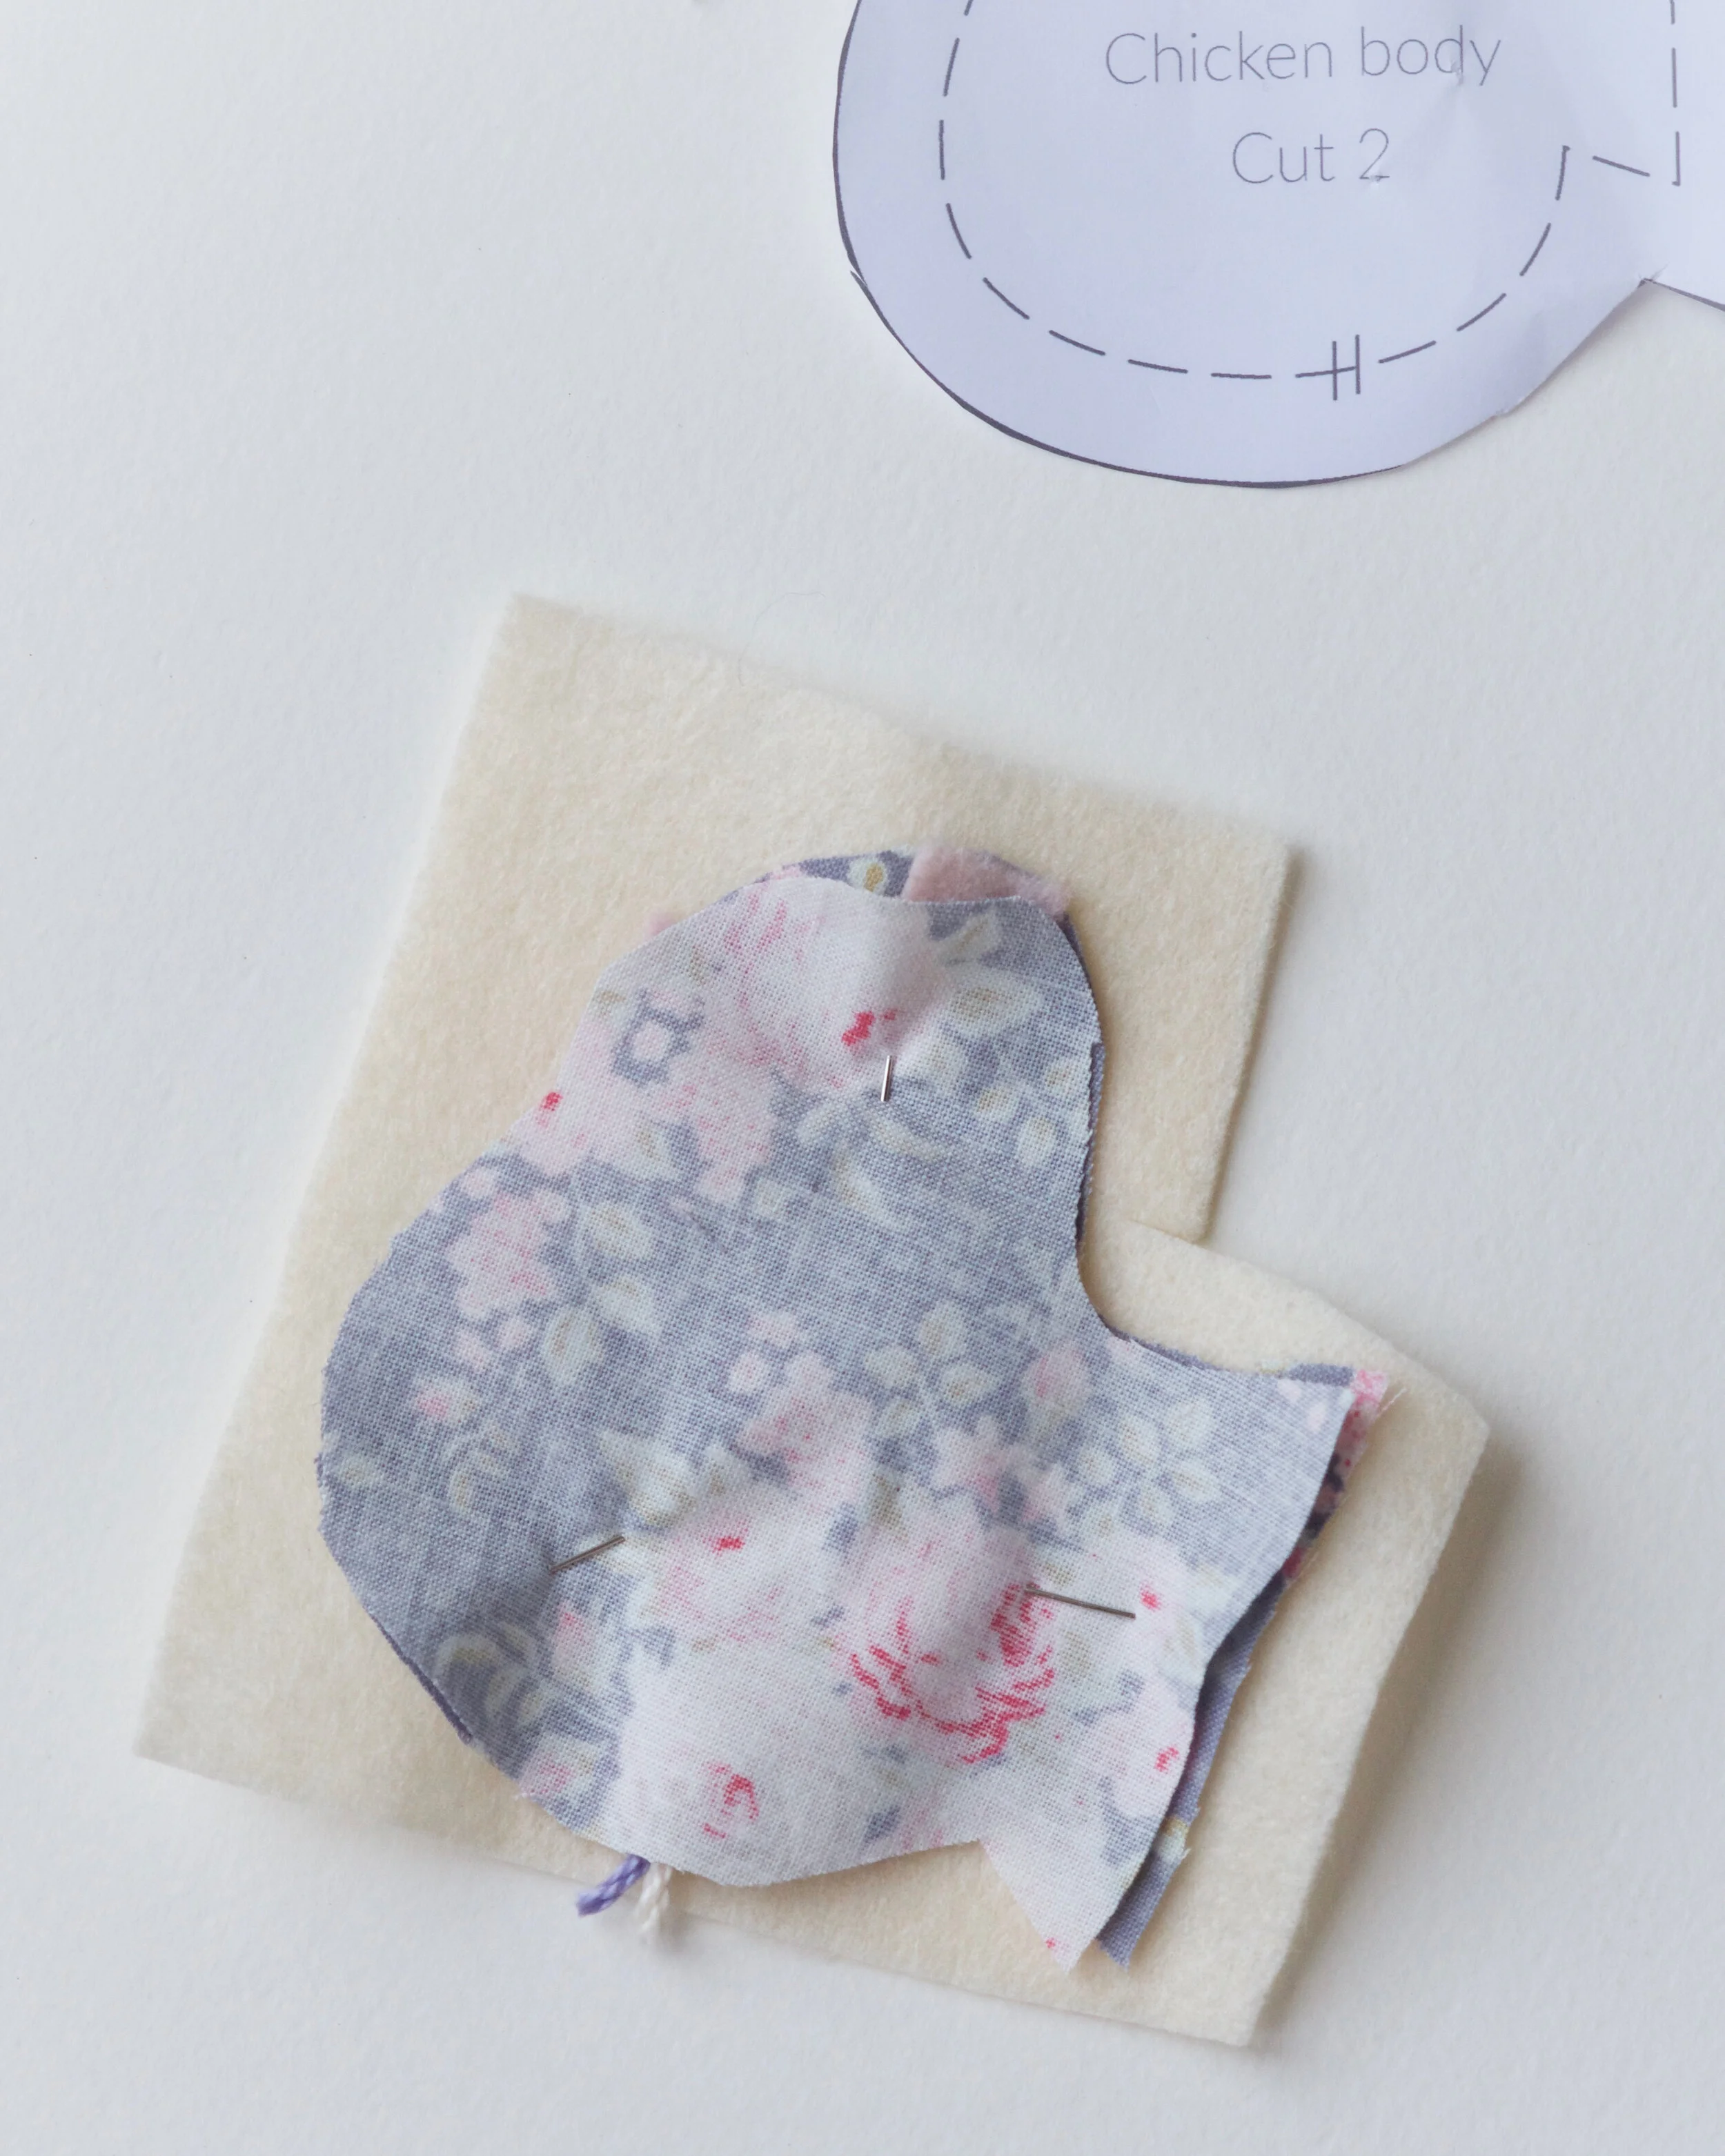
10) Machine stitch just inside your previous stitching. I do this with the felt side uppermost so I can see clearly where I have stitched before. Leave a gap at the bottom of the bird so that you can turn it the right way around later.
11) Cut the felt close to the first stitching line, except for at the bottom.
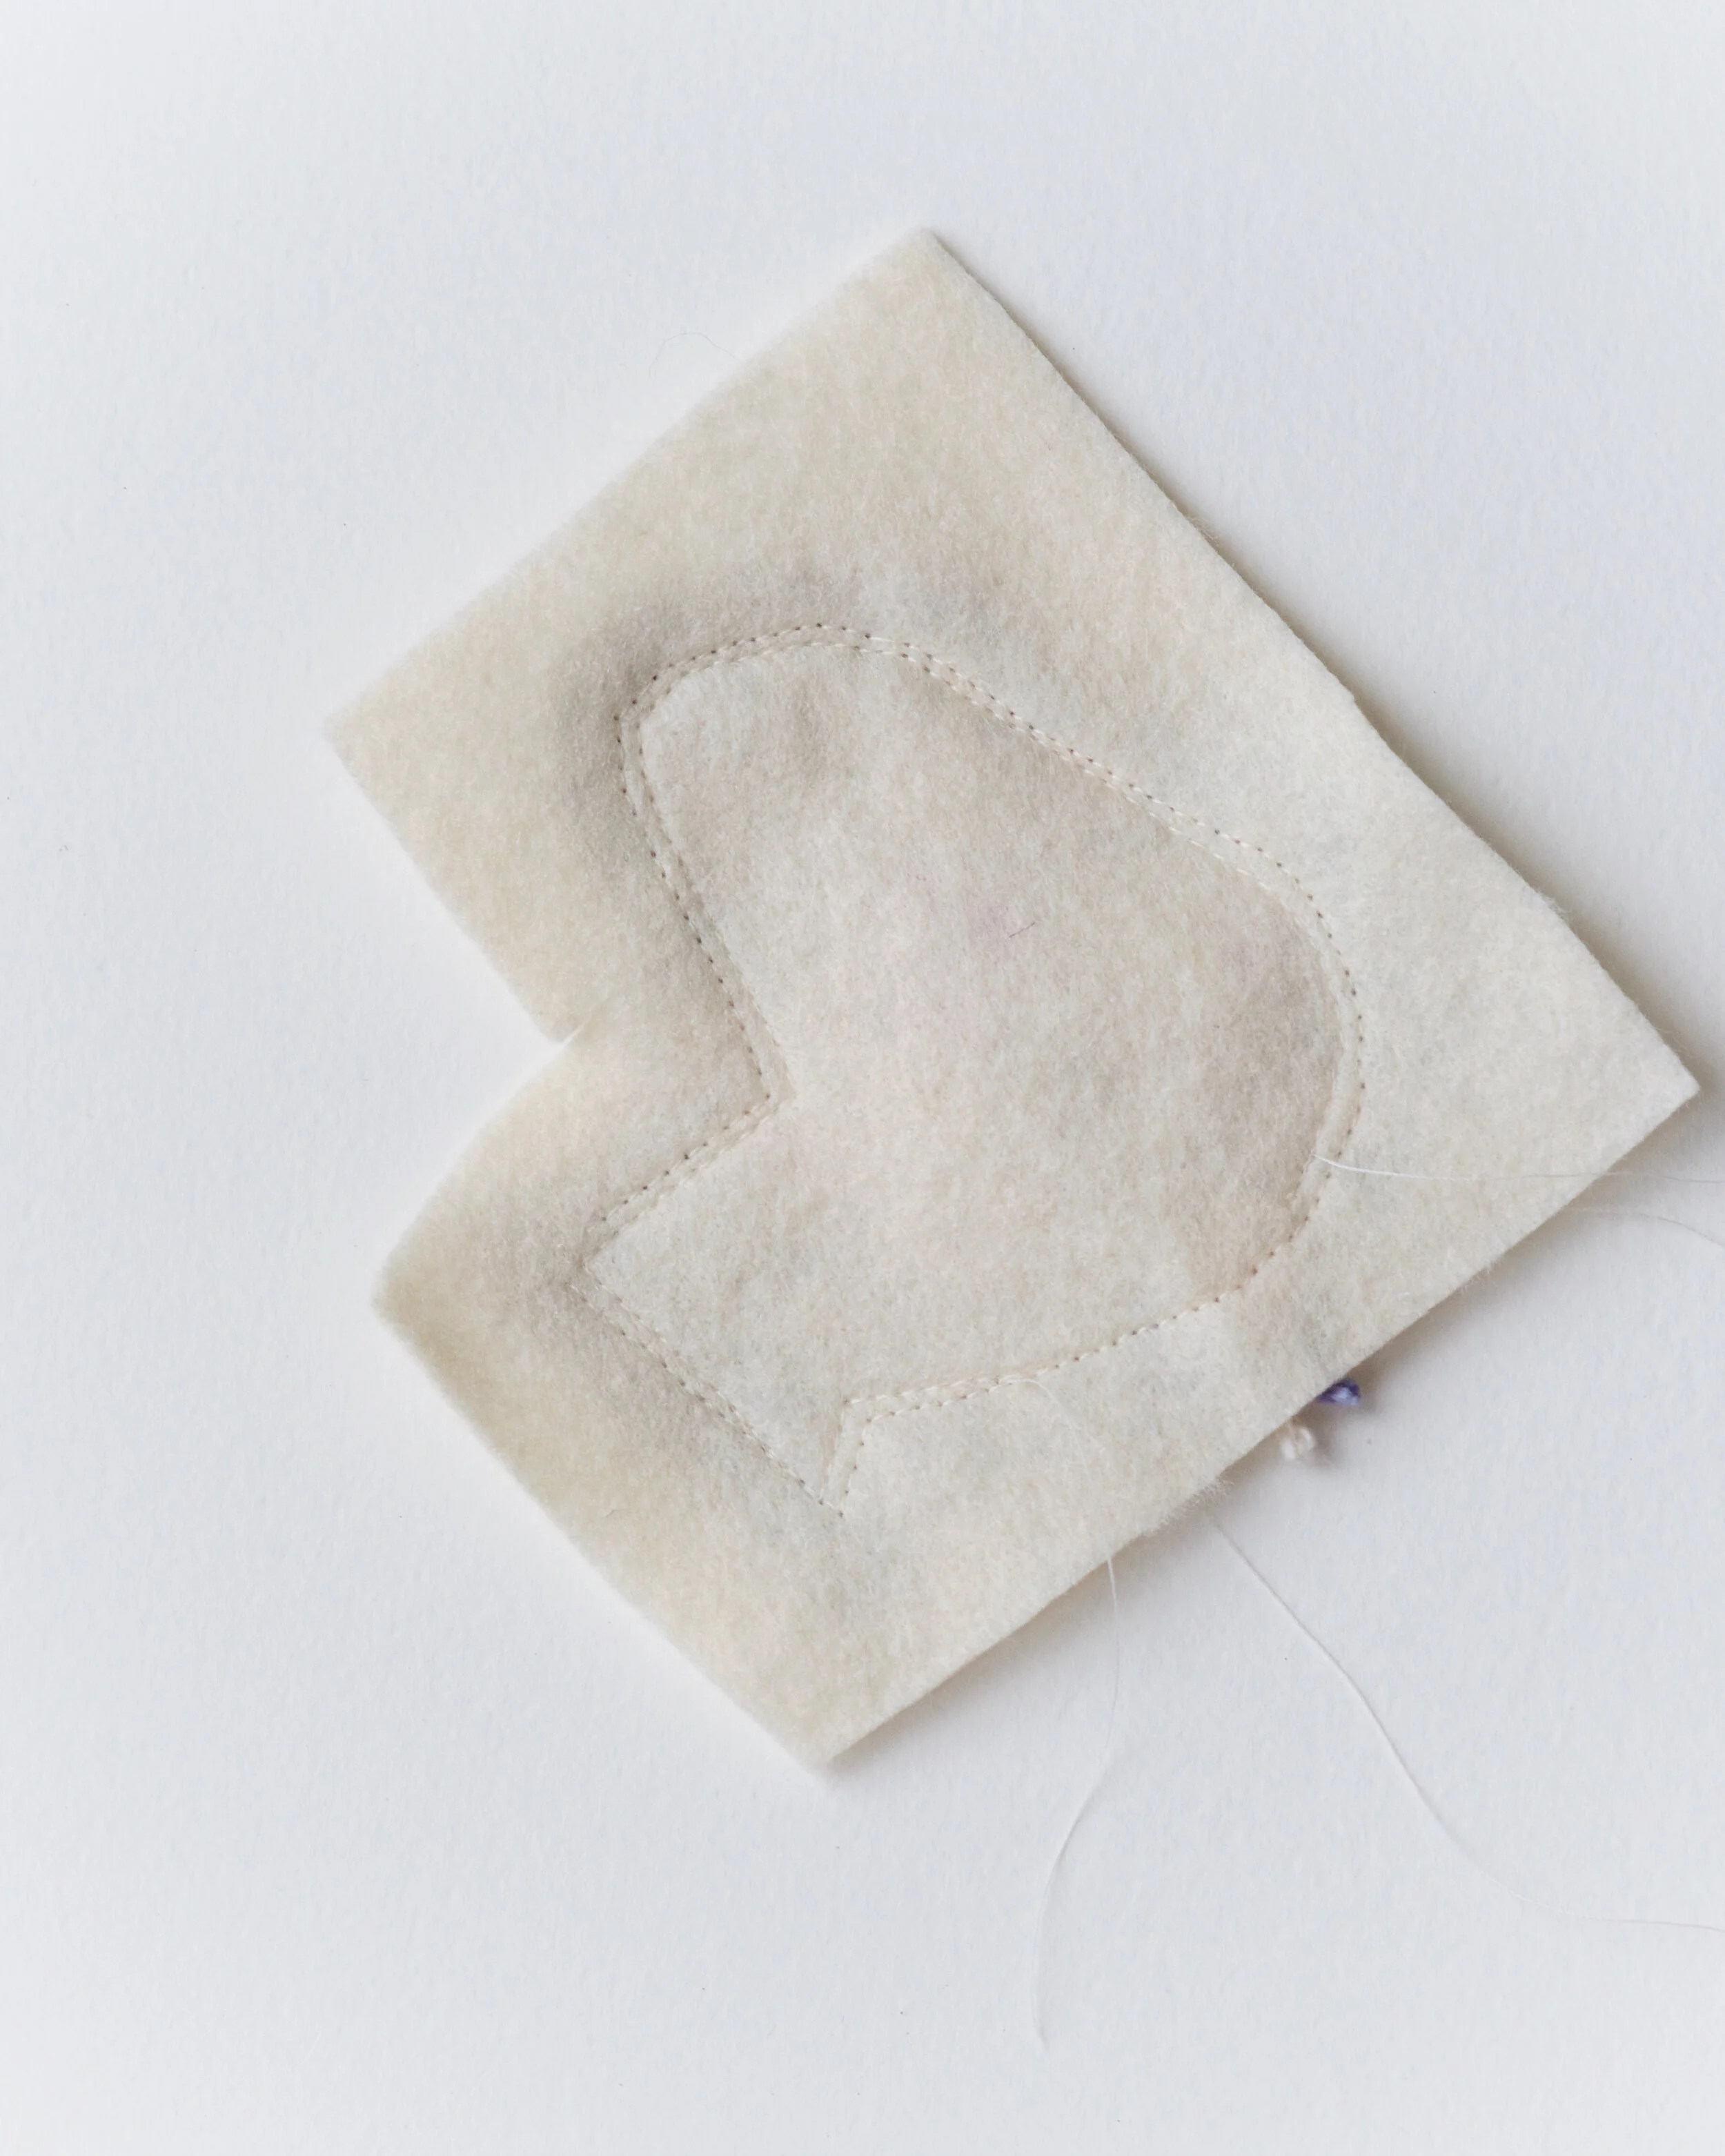
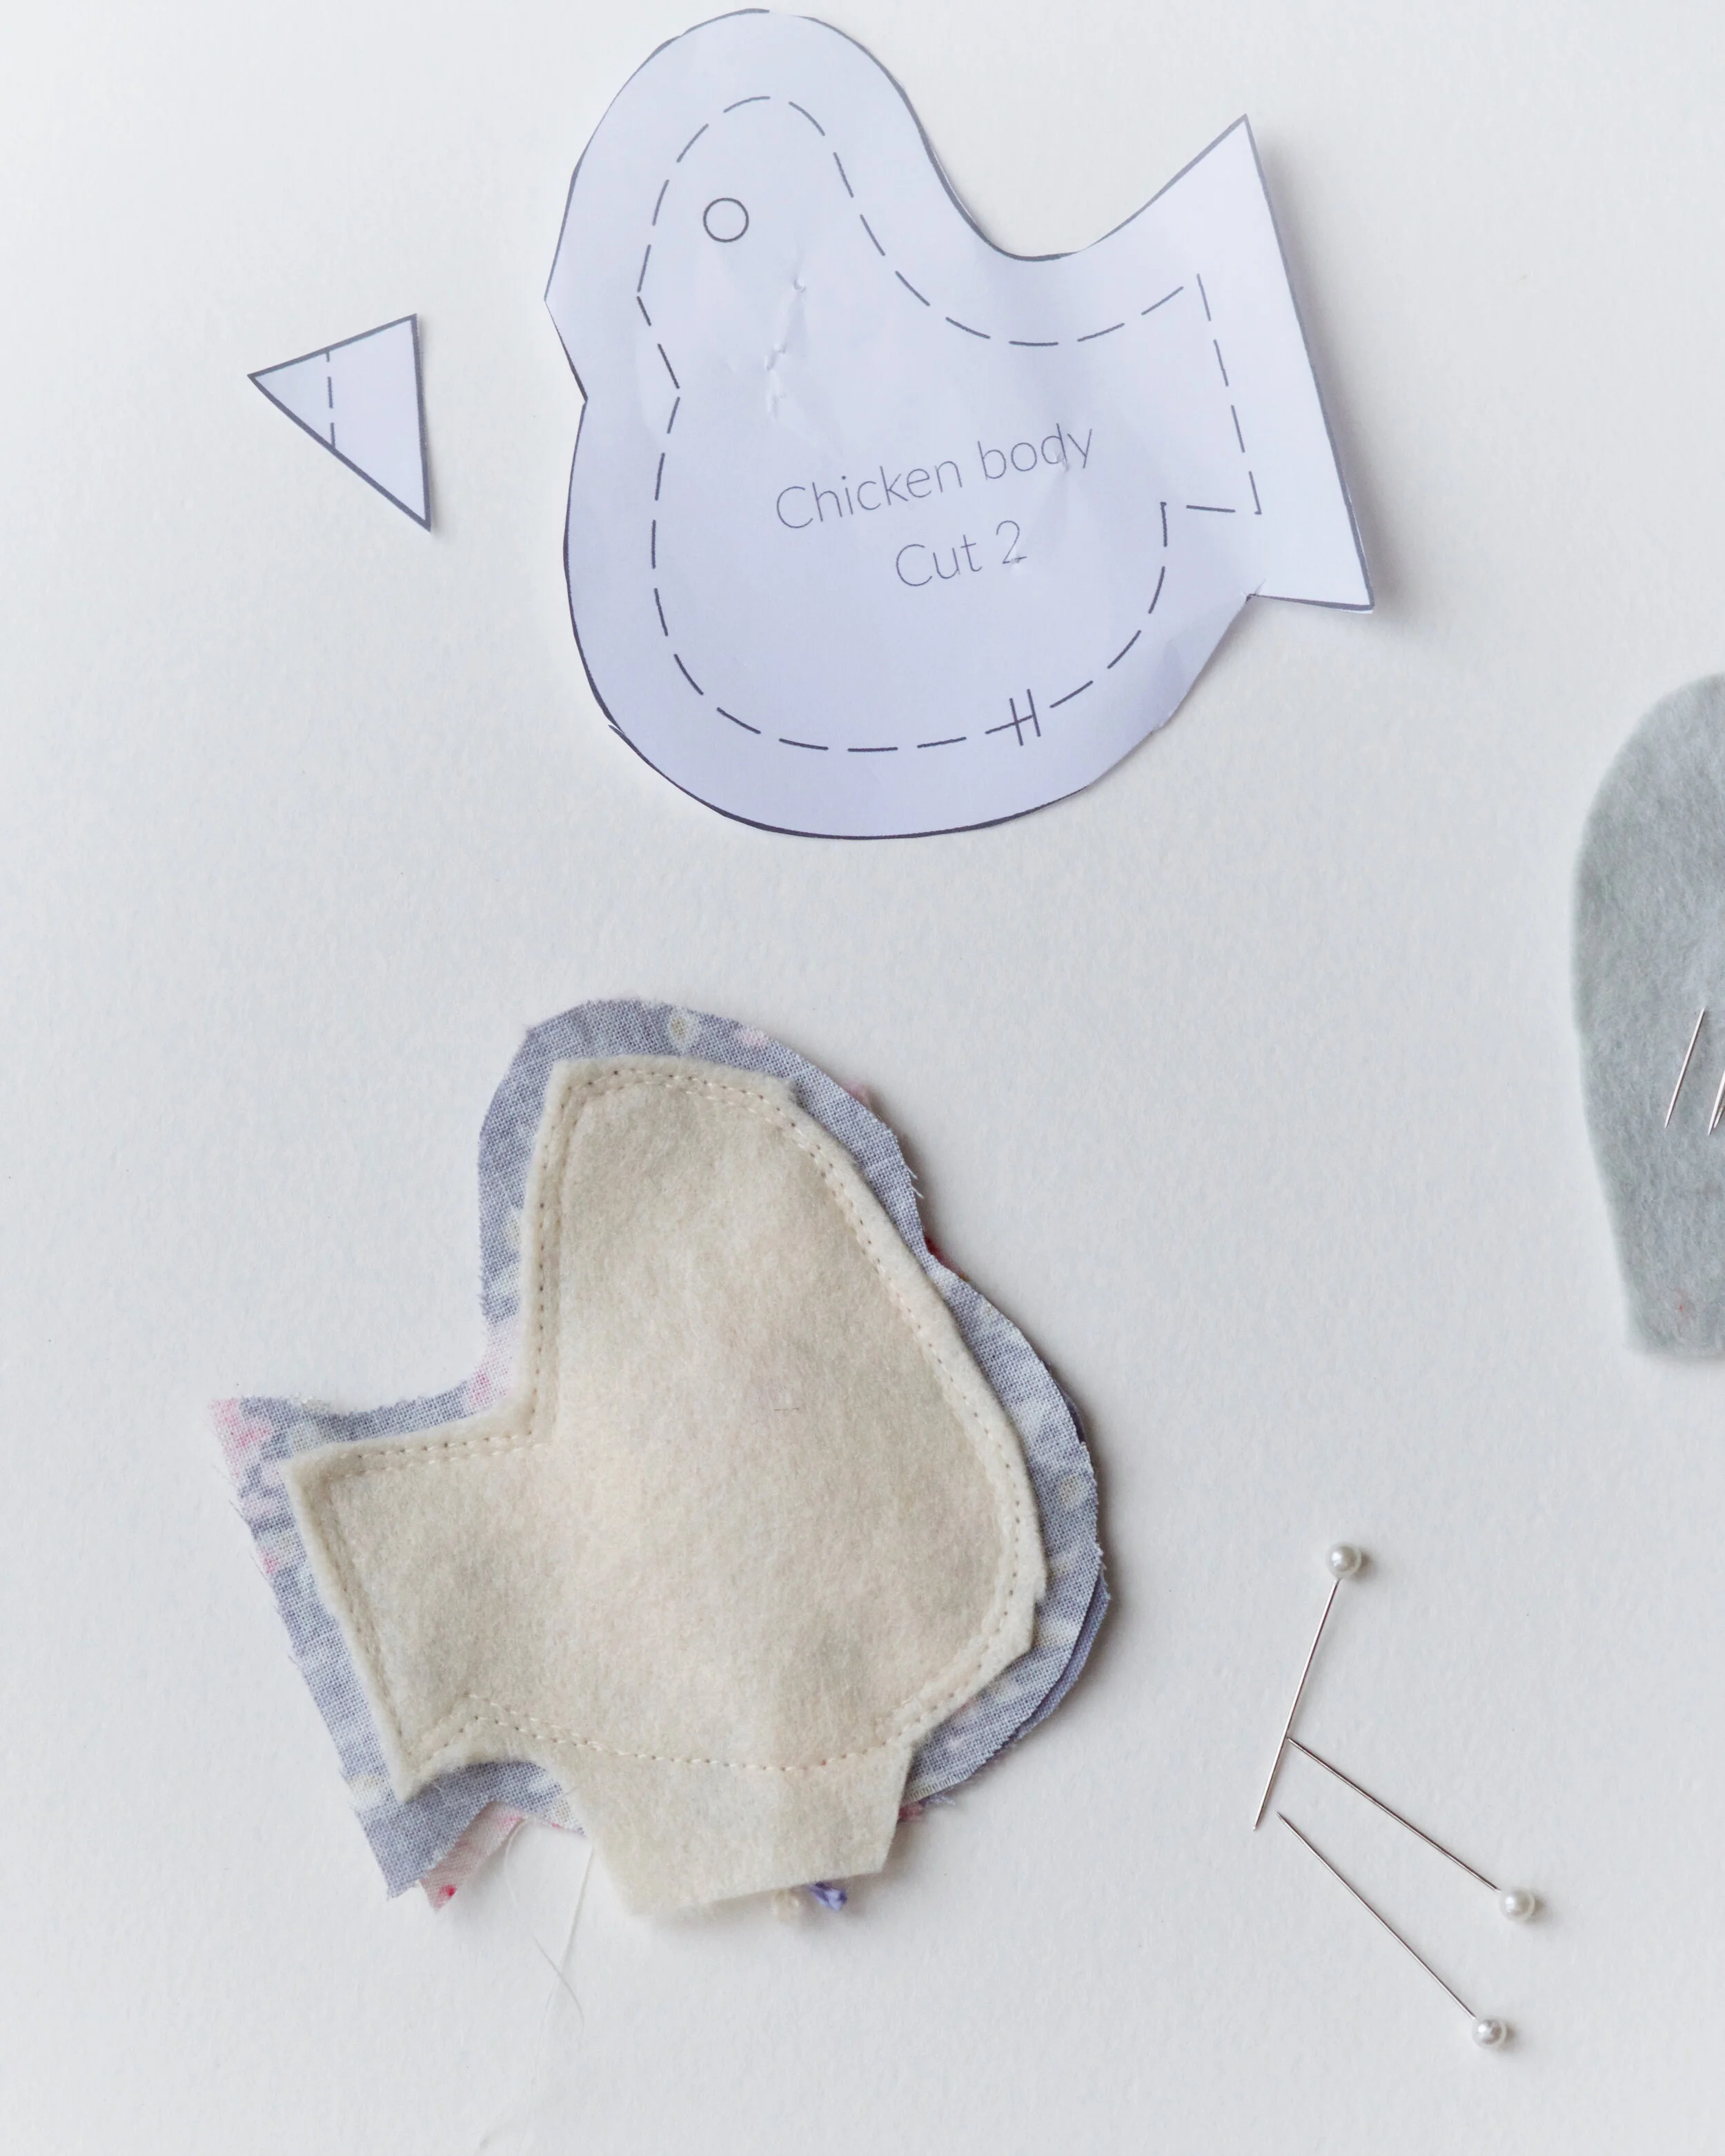
12) Trim and clip the seam allowances, clip into the innermost points and trim diagonally at the corners.
Finishing Touches
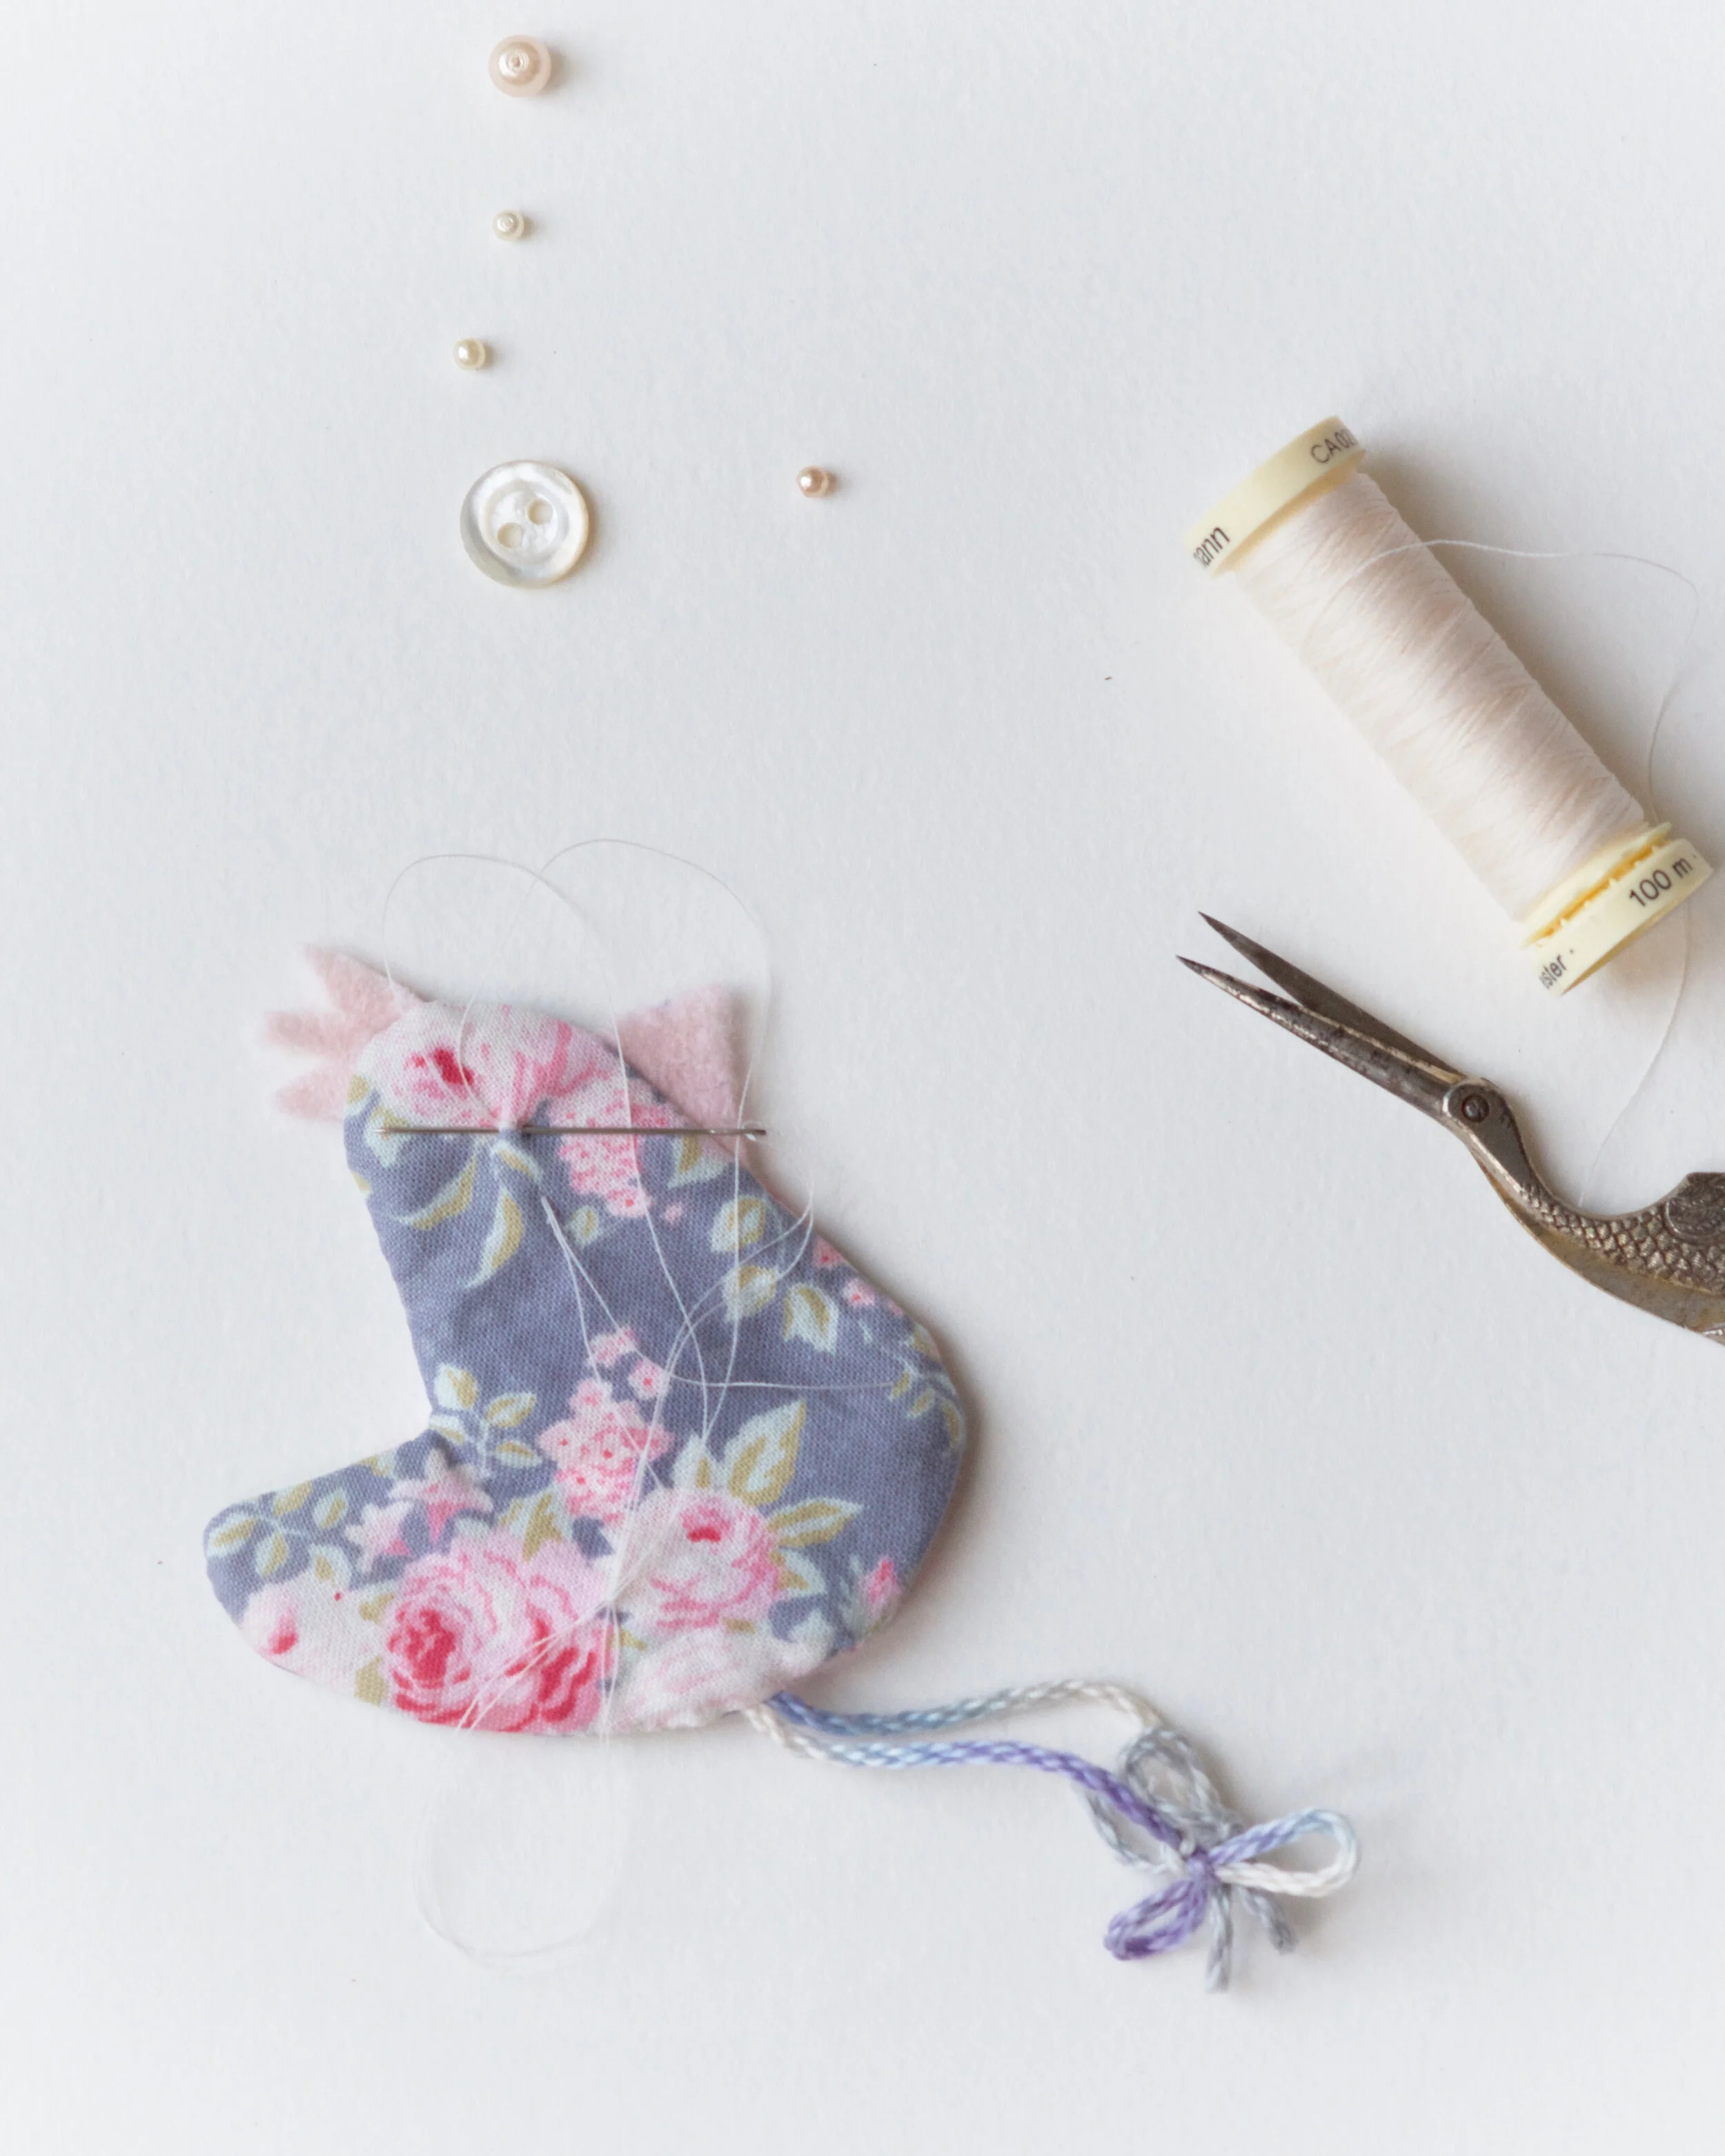
13) Turn your chicken right side out, gently teasing out the felt beak and crown. Use a closed pair of scissors or a pencil to gently tease out the points.
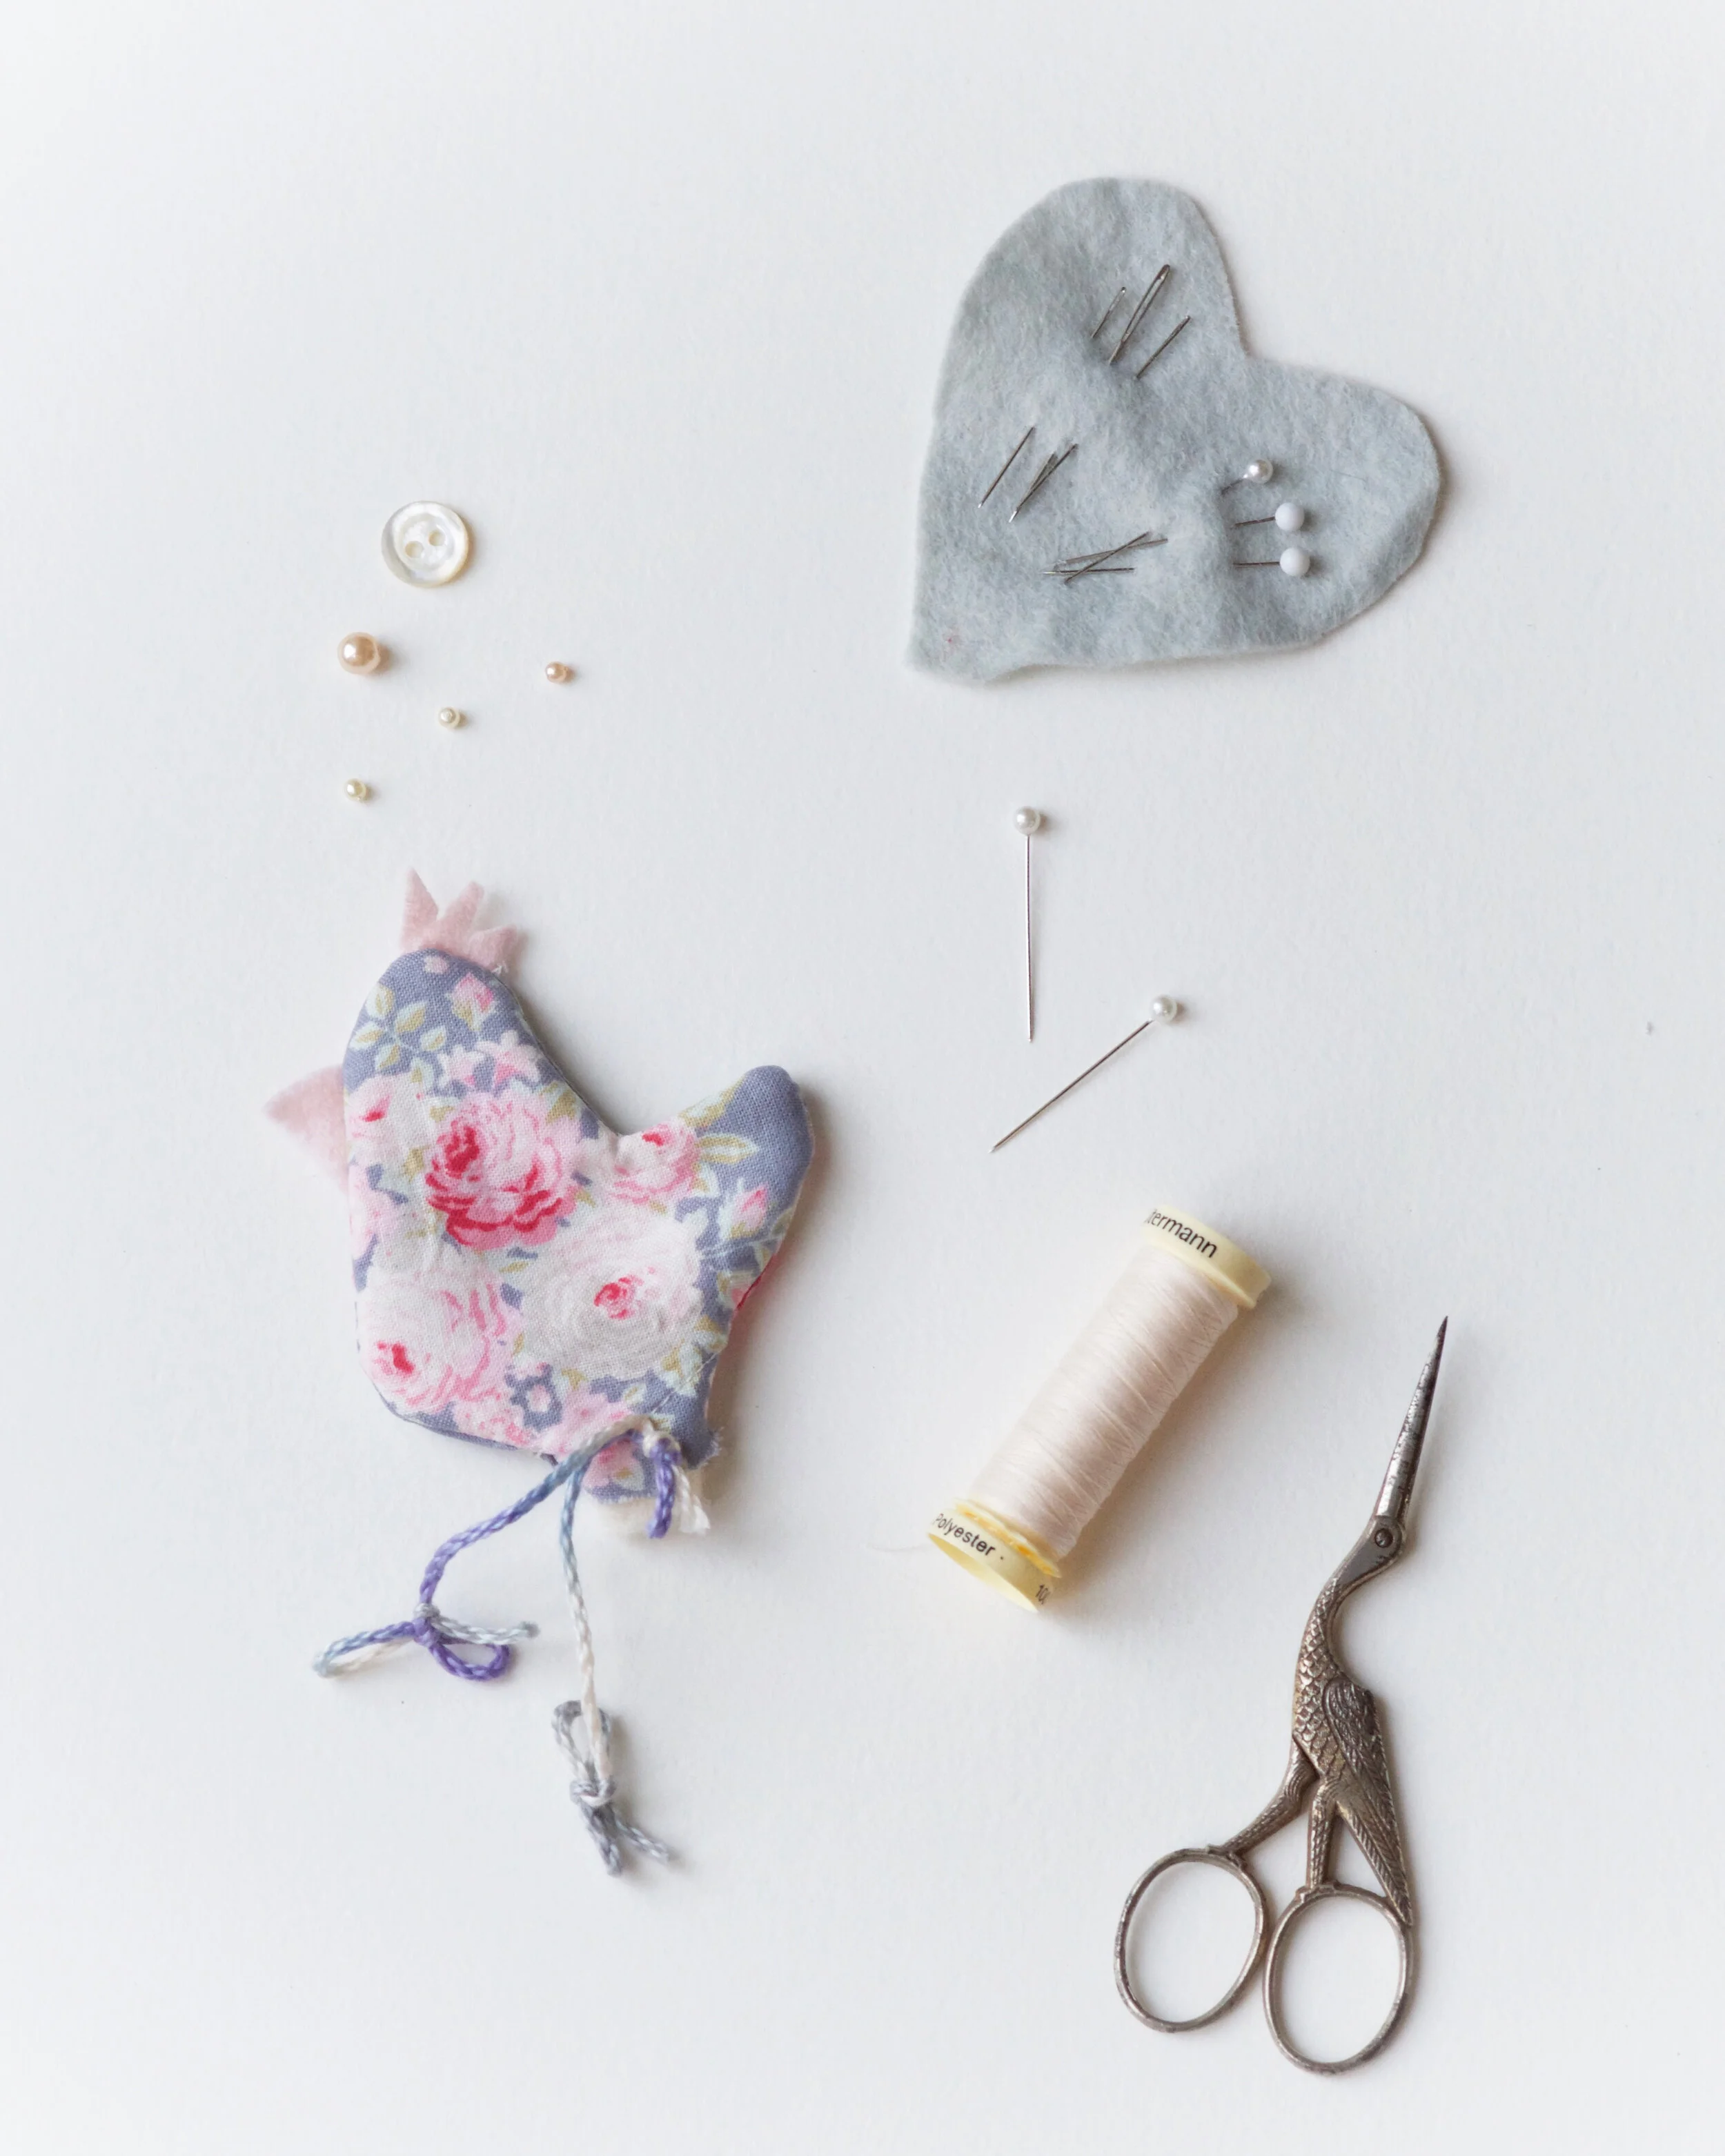
14) Fold in the seam allowance at the bottom of the chicken. Thread a hand sewing needle, secure the thread and stitch the gap together.
15) Sew on a bead or a button for the eye, and your Easter chicken is made!
Little Extras
You could embroider wings and embellish with flowers and beads.
Have a good Easter. And above all take care and stay safe,

Are you on Pinterest?
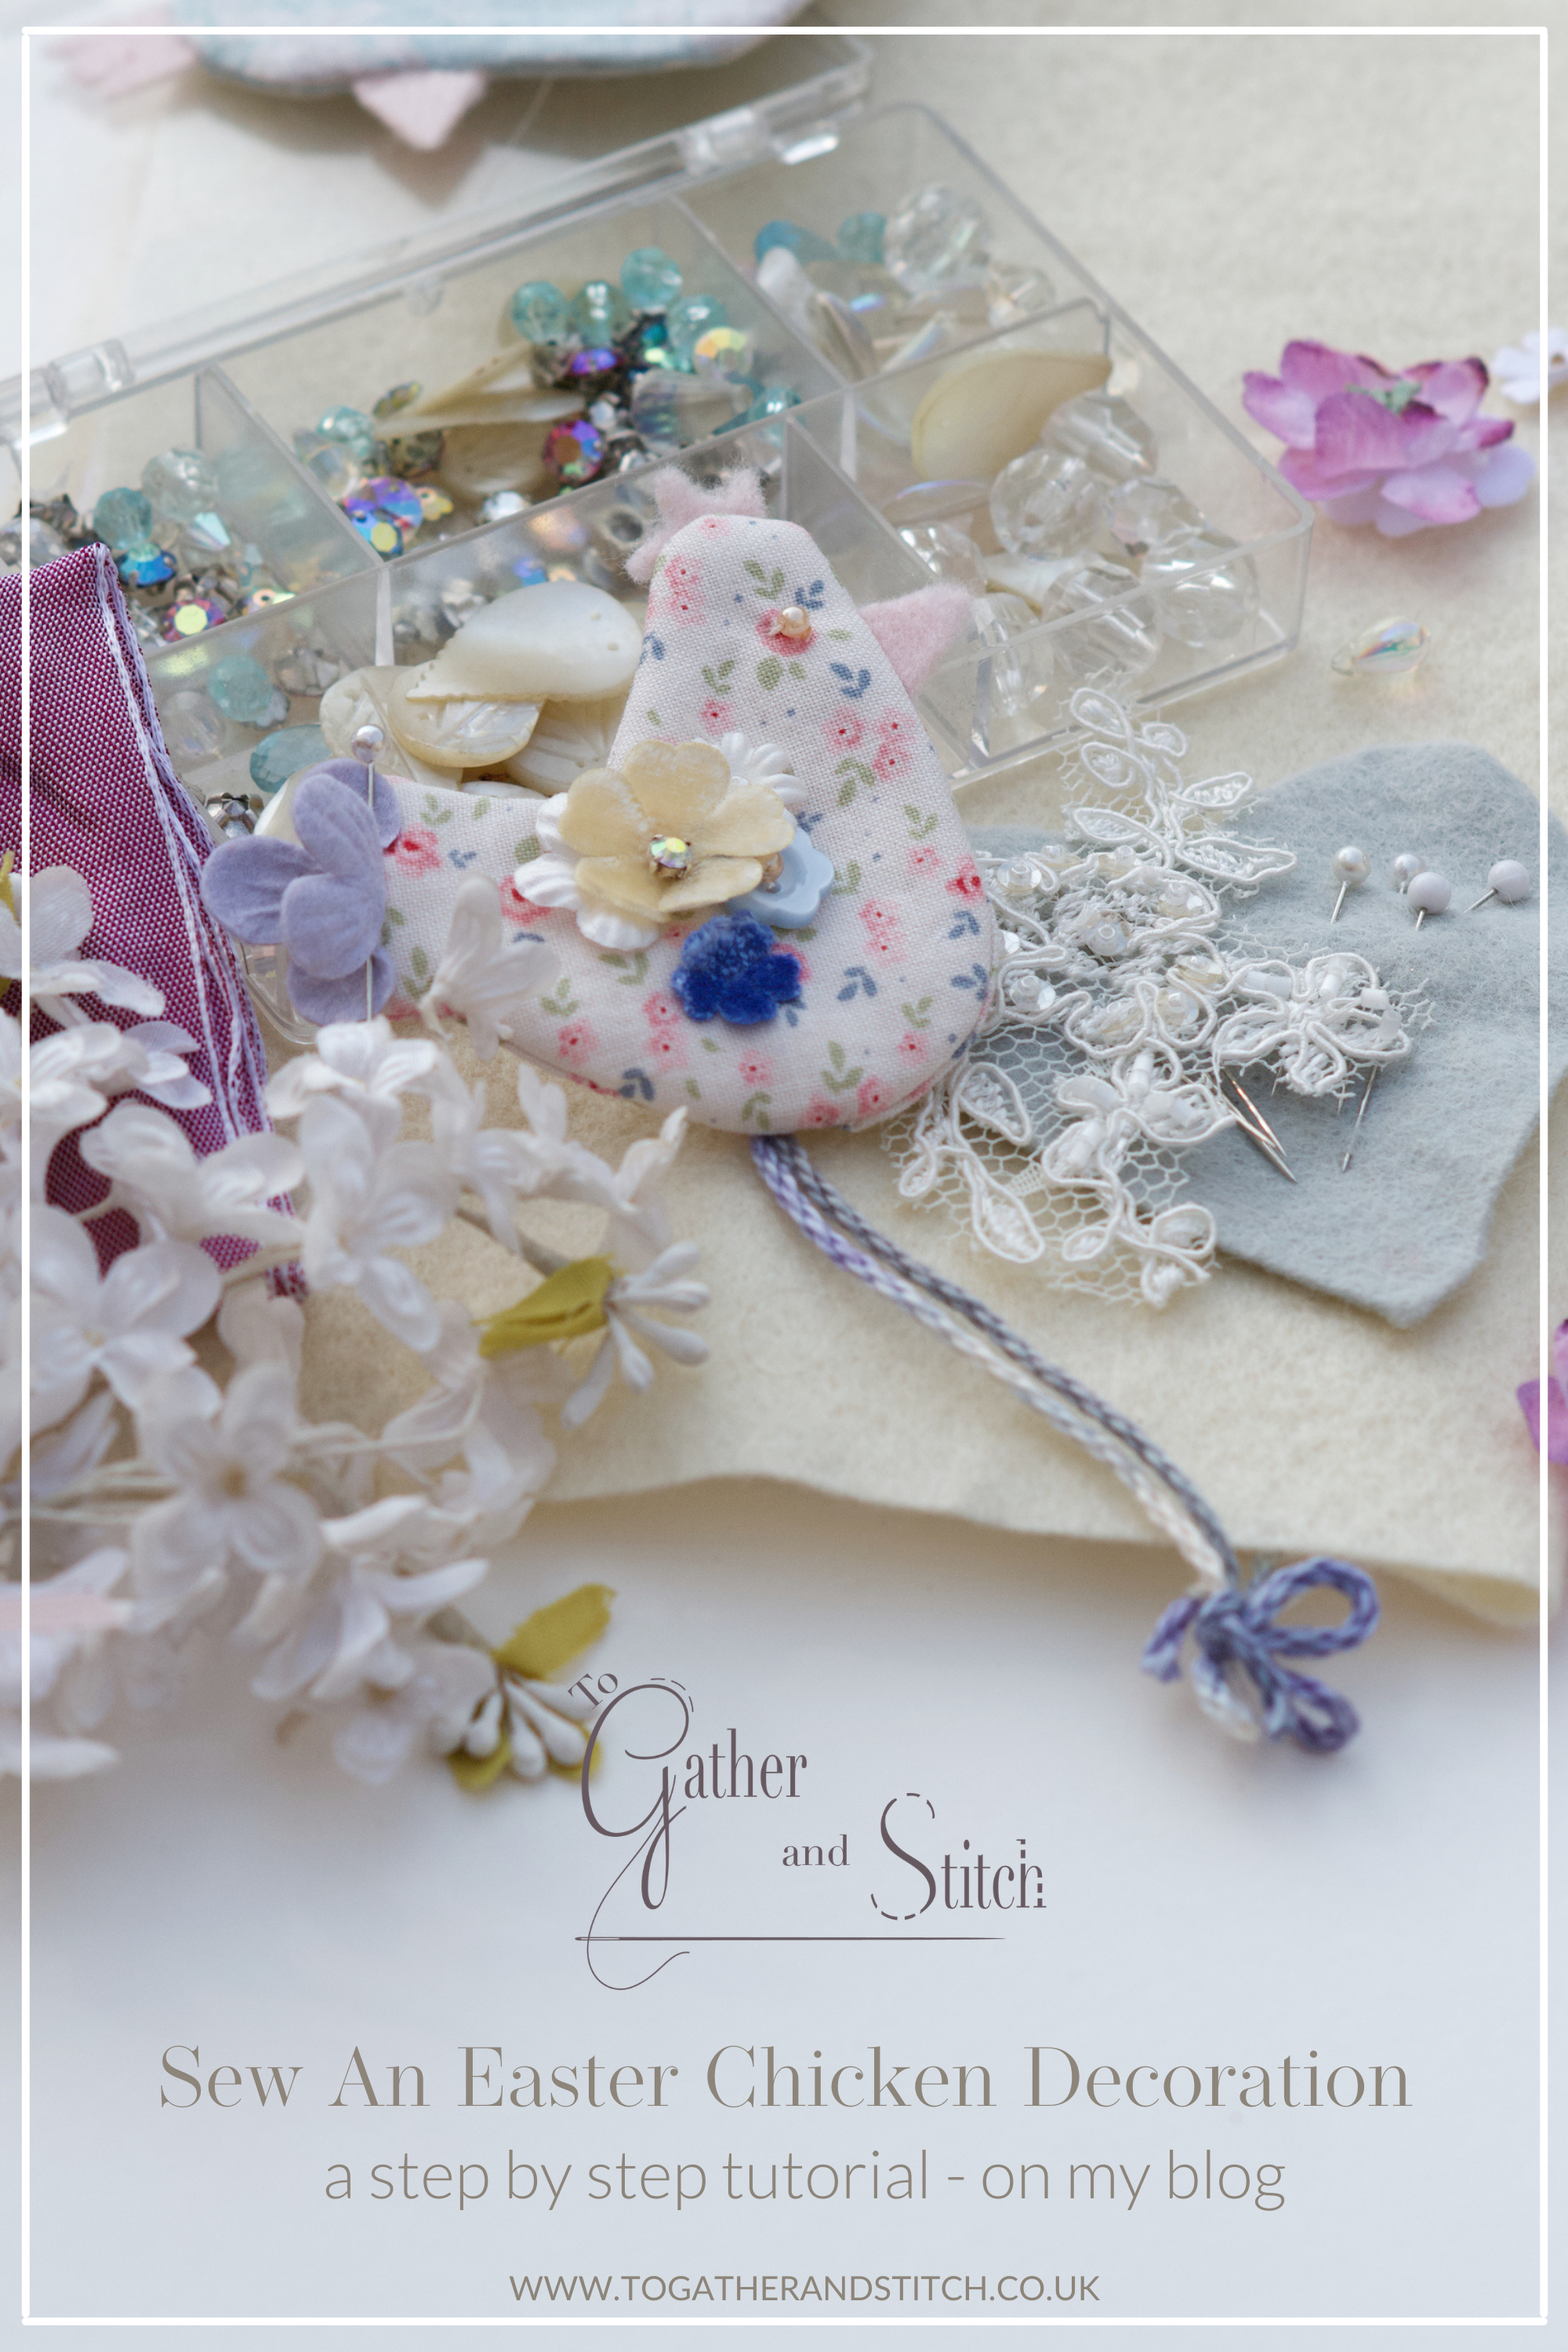
If you enjoyed this post here’s a pin to share
PS. Notes for sewing In Lockdown
Don’t worry too much if you don’t have all the materials here, you can substitute and still create a pretty chicken. You could use a heavier fabric instead of felt, string instead or wool for the legs and buttons for embellishments.
You could sew this little bird by hand if you would prefer.
The fabrics I’ve used here include an offcut from a cushion, and the flowers have been in the corner of our living room for ages! A yellow duster or cleaning cloth would make a cheerful little chick too!
You could stuff the chicken too - I don’t have any at home, but wadding or cotton wool would work well. x